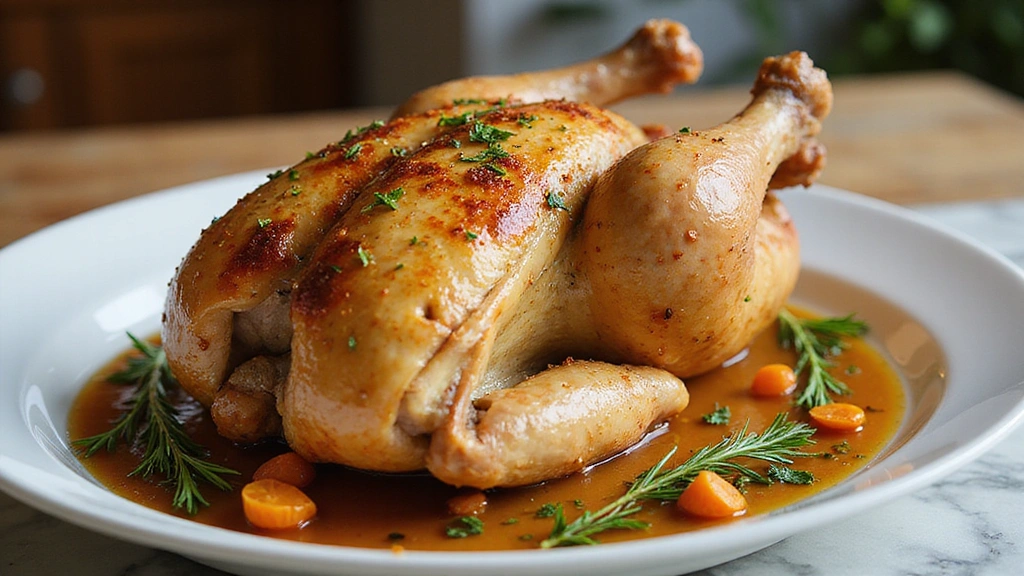


There’s something undeniably satisfying about a perfectly seasoned rotisserie chicken.
The savory aroma and golden, crispy skin make it a favorite centerpiece for any meal.
This recipe offers a fresh take on serving rotisserie chicken with no-cook options that are perfect for busy nights.
Whether you’re looking to add a flavorful twist or simply enjoy it in its purest form, these recipes have you covered.
Drawing from various culinary traditions, these no-cook options highlight the versatility of rotisserie chicken.
Get ready to transform a simple store-bought bird into a gourmet delight in your own kitchen.
The History and Cultural Significance
• Simple Rotisserie Chicken traces its origins to medieval Europe, where it was originally created by street vendors using open flames.
• The dish evolved over decades as the invention of the rotisserie machine allowed for more consistent cooking, eventually becoming the beloved version we know today.
• In French cuisine, this dish traditionally appears at Sunday family gatherings, symbolizing shared comfort and warmth.
• While many variations exist across different regions, the authentic version maintains a balance of crispy skin and tender meat that sets it apart from imitations.


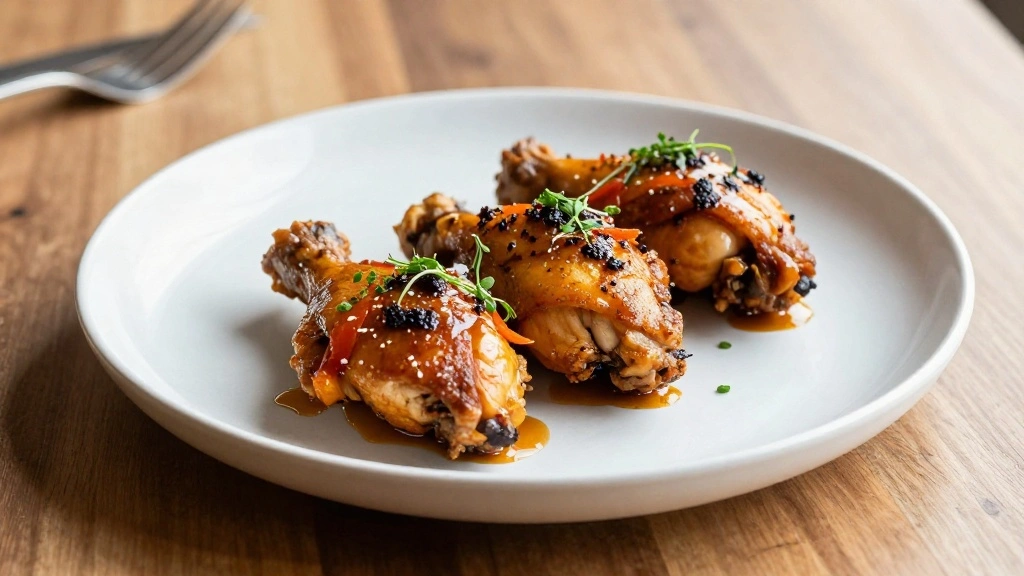
Recipe Overview
Nutritional Information (per serving)
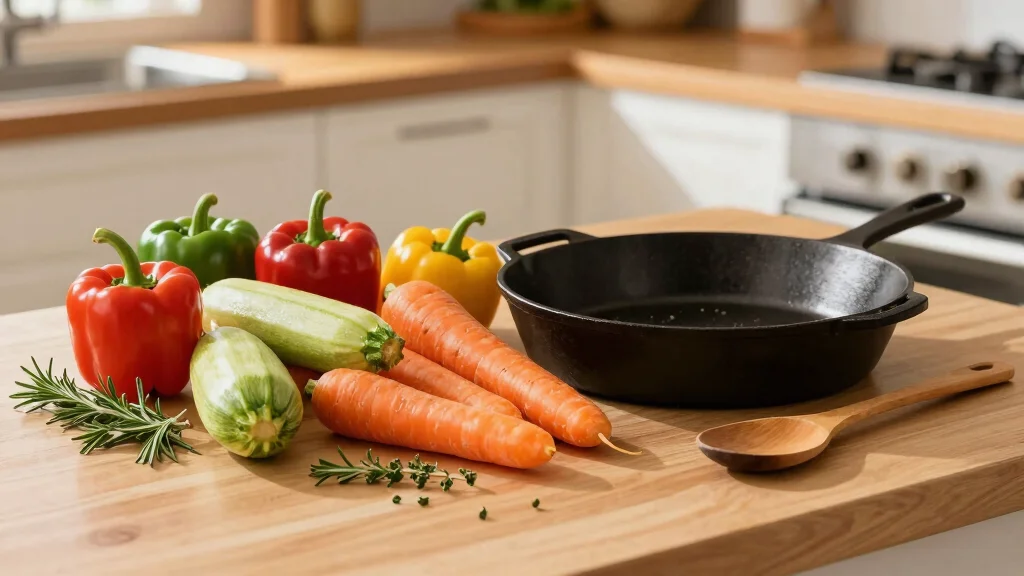
Essential Equipment Guide
Sharp Chef’s Knife: A sharp knife is crucial for cleanly slicing chicken without tearing the skin. Alternatives include a carving fork or an electric knife, though these may not provide the same precision.
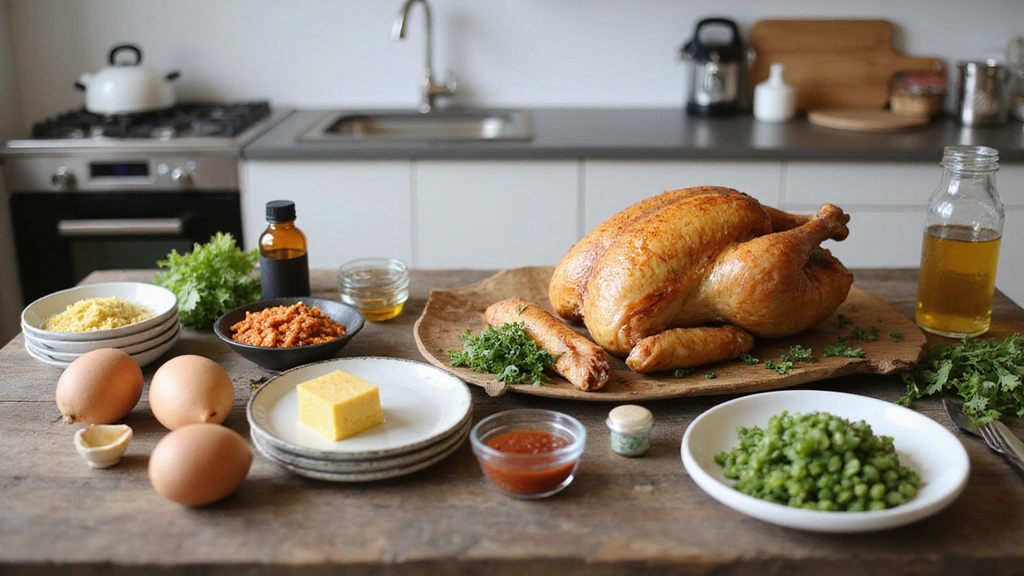
Ingredients
For the Base
|
| Amount | Ingredient | Notes |
|---|---|---|
| 1 whole | rotisserie chicken | store-bought, precooked |
For the Dressing
| Amount | Ingredient | Notes |
|---|---|---|
| 3 tablespoons | olive oil | adds richness |
| 1 tablespoon | lemon juice | for freshness |
| 1 teaspoon | honey | for sweetness |
Seasonings
| Amount | Ingredient | Notes |
|---|---|---|
| 1 teaspoon | salt | enhances flavor |
| 1/2 teaspoon | black pepper | for spice |
Vegetables
| Amount | Ingredient | Notes |
|---|---|---|
| 2 cups | mixed greens | washed and dried |
| 1 cup | cherry tomatoes | halved |
Preparation Methods
Proper Carving: Carving the chicken correctly ensures each piece is tender and retains its juiciness. Start by removing the legs, then the wings, and finally the breast, slicing against the grain.
Mixing Dressings: Emulsifying the dressing by whisking vigorously ensures the oil and lemon juice combine properly, creating a rich and balanced flavor.
Chilling Vegetables: Keeping vegetables cold before serving helps maintain their crispness and enhances the contrast with the warm chicken.


Step 1: Gather Ingredients
Begin by gathering all necessary ingredients and equipment.
Ensure the rotisserie chicken is at room temperature for easy carving.
Prepare dressing ingredients by measuring them out.
Organize vegetables and other accompaniments for efficient assembly.
Step 2: Carve the Chicken
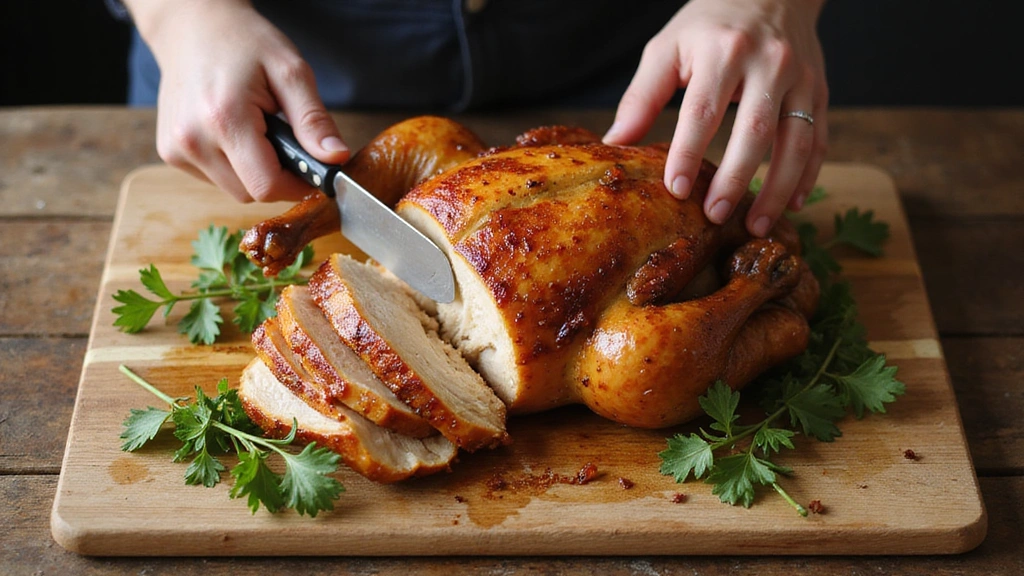
Using a sharp chef's knife, carefully carve the chicken into serving pieces.
Start with the legs, then move to the wings, and finally the breast.
Ensure each piece maintains its shape with the skin intact.
Place carved pieces on a serving platter.
Step 3: Prepare the Dressing
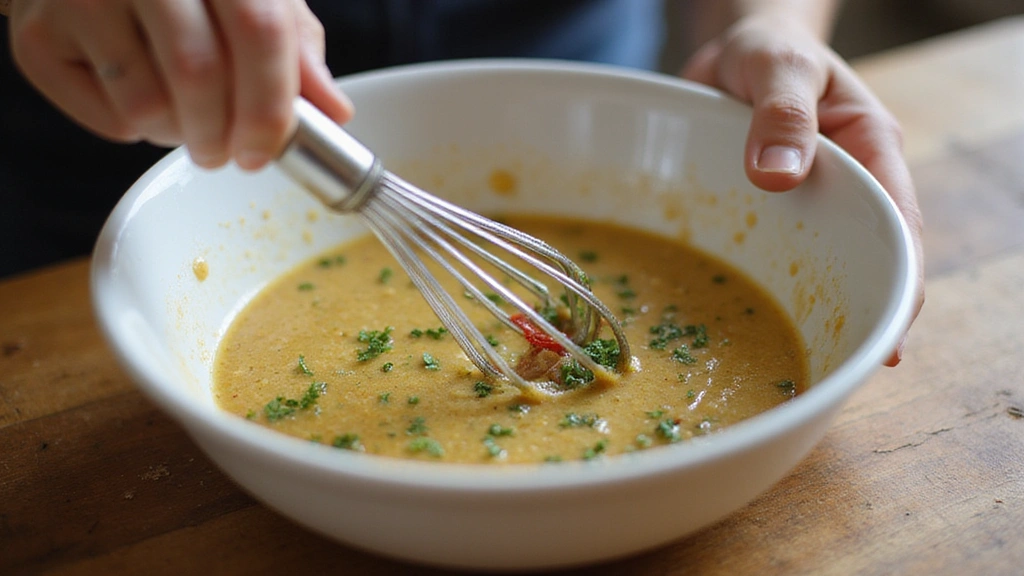
In a small bowl, combine olive oil, lemon juice, and honey.
Add salt and black pepper to taste.
Whisk vigorously until the dressing is well emulsified.
Taste and adjust seasoning as needed.
Step 4: Arrange Vegetables
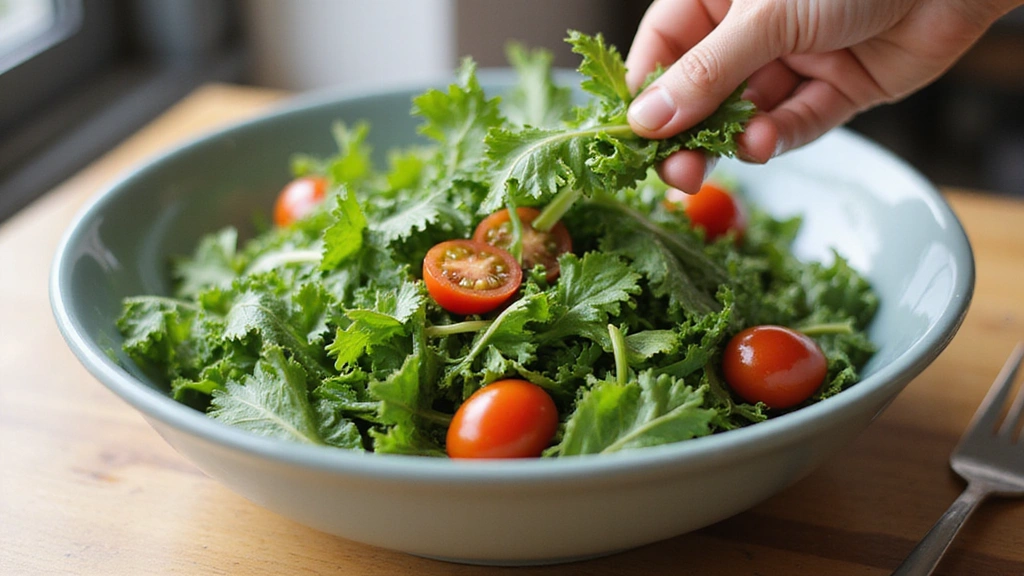
Place mixed greens in a large salad bowl.
Add halved cherry tomatoes on top of the greens.
Gently toss to combine the vegetables evenly.
Ensure vegetables are fresh and crisp.
Step 5: Dress the Salad
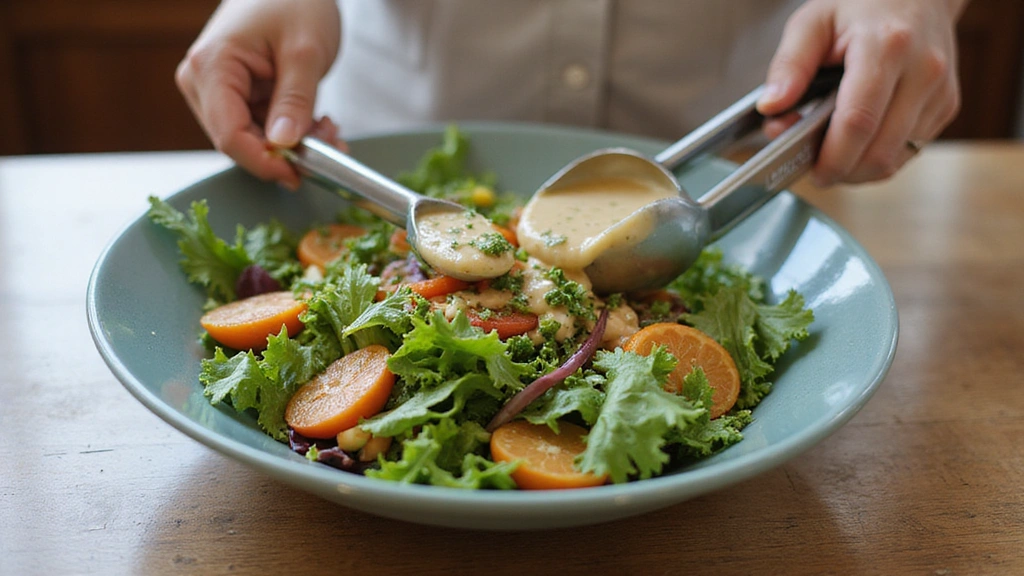
Drizzle the prepared dressing over the salad mixture.
Use salad tongs to gently toss the salad, ensuring all leaves are coated.
Check for even distribution of the dressing.
Set aside for flavors to meld slightly.
Step 6: Assemble the Plate
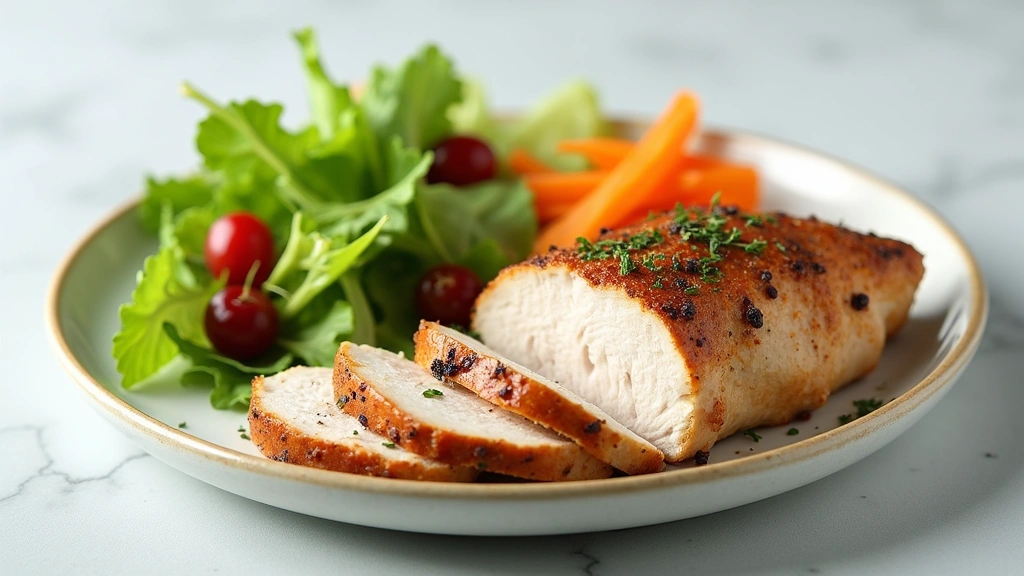
On each plate, serve a portion of the dressed salad.
Add carved chicken pieces alongside the salad.
Ensure each plate is visually balanced with color and texture.
Garnish with additional black pepper if desired.
Step 7: Final Touches
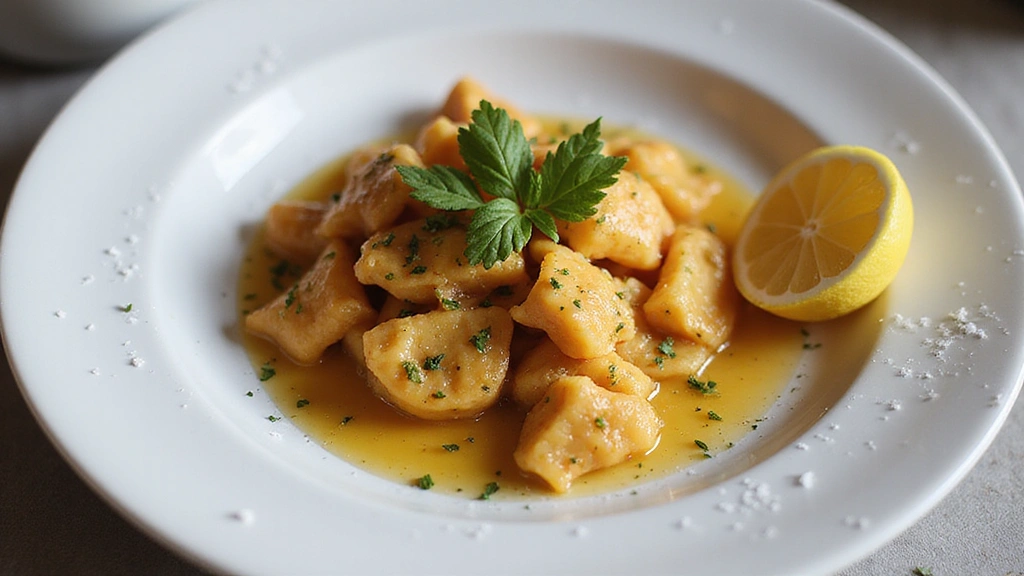
Sprinkle a small pinch of salt over the assembled dish.
Add a wedge of lemon for an optional citrus boost.
Inspect each plate for presentation quality.
Make any final adjustments for visual appeal.
Step 8: Serve Immediately

Present the dishes to your guests or family while fresh.
Encourage tasting the salad and chicken together for full flavor.
Enjoy the meal with a complementary beverage.
Savor the combination of flavors and textures.


Critical Timing and Temperature Guide
Carving: Allow chicken to rest at room temperature for 15 minutes before carving. Check for even skin crispness and avoid tearing.
Dressing Preparation: Whisk dressing for about 2 minutes until fully emulsified. Look for a creamy consistency without separation.
Salad Assembly: Toss salad just before serving to prevent wilting. Ensure even dressing coverage without oversaturating the greens.
Pro Tips for Simple Rotisserie Chicken
• Ingredient Selection: Choose a high-quality rotisserie chicken with crispy skin and moist meat for best results.
• Preparation Secret: Let the chicken sit at room temperature briefly before carving to ensure easier slicing and better flavor.
• Temperature Management: Use dressing ingredients at room temperature for optimal emulsification.
• Texture Enhancement: Ensure greens are fully dried before tossing with dressing to maintain crispness.
• Flavor Layering: Combine lemon juice and honey in the dressing for a bright and balanced flavor profile.
• Make-Ahead Strategies: Prepare the dressing in advance and store in the refrigerator for up to three days.
• Restaurant-Quality Finishing Touches: Add a sprinkle of flaky sea salt before serving for an elevated flavor.
• Equipment Optimization: Keep knives sharp to ensure clean cuts when carving the chicken.
Troubleshooting Common Issues
• Chicken Too Dry: This can occur if the chicken is overcooked before purchase or if it dries out after carving. Ensure to carve the chicken just before serving to preserve moisture.
• Dressing Separating: If the dressing separates, whisk it again vigorously. Cold oil can prevent emulsification; ensure all ingredients are at room temperature.
• Wilted Greens: Toss the salad just before serving to keep the greens crisp. If prepped beforehand, store greens separately and dress at the last minute.
• Overly Salty Flavor: If the dish is too salty, balance with additional lemon juice or a splash of vinegar in the dressing.
• Bland Taste: Ensure the dressing is well-seasoned and taste it before adding to the salad. Adjust salt and lemon juice levels to enhance flavor.
Variations and Regional Differences
• Italian Style: Incorporates shaved Parmesan and toasted pine nuts into the salad, using balsamic vinegar in the dressing for a richer taste.
• Asian Influence: Features sliced cucumbers and radishes with a soy-ginger dressing instead of lemon-honey for a savory twist.
• Mexican Flair: Includes avocado slices and corn kernels in the salad, with a lime-cilantro dressing for a zesty flavor.
• Middle Eastern: Adds chickpeas and feta cheese to the salad, with a tahini-based dressing for a creamy texture.


Food Science Behind the Recipe
• Emulsification: The process of emulsifying oil and lemon juice in the dressing creates a stable mixture that clings to the salad, enhancing flavor distribution.
• Caramelization: The roasting process of the chicken creates Maillard reactions, which develop the savory, complex flavors and crispy skin.
• Acid and Fat Balance: The combination of lemon juice and olive oil in the dressing balances acidity with richness, heightening the overall taste experience.


Frequently Asked Questions
What's the most common mistake people make when preparing Simple Rotisserie Chicken? One common mistake is not allowing the chicken to rest at room temperature before carving, which can lead to tearing and loss of juices.
How can I keep the salad fresh if I prepare it in advance? Store the salad components separately and combine with dressing just before serving to maintain freshness.
Can I use a different type of dressing? Yes, feel free to experiment with different dressings to suit your taste preferences.
How do I ensure my chicken is evenly seasoned? By choosing a well-seasoned rotisserie chicken and adding a balanced dressing, you can enhance the overall flavor.
What can I do with leftover chicken? Leftover chicken can be used in sandwiches, wraps, or added to soups for an easy meal.
What's the best way to reheat rotisserie chicken? Gently reheat chicken in an oven at low temperature to preserve moisture without drying it out.
Can I make this dish vegan? Substitute the chicken with grilled or roasted vegetables and use a vegan dressing for a plant-based version.
Serving and Presentation Guide
• Traditional Presentation: Serve the chicken and salad on a large family-style platter with dressing on the side for guests to add as desired.
• Individual Plates: Arrange chicken and salad on individual plates for a more formal presentation, garnished with herbs or edible flowers.
• Buffet Style: Present the chicken on a carving board and the salad in a large bowl, allowing guests to serve themselves.
• Casual Gathering: Use rustic serving dishes and let guests build their own plates from a spread of components.


Conclusion
With these simple no-cook recipes, you can transform a store-bought rotisserie chicken into a delightful meal.
The versatility of this dish means you can easily adapt it to suit your taste and dietary preferences.
Next time you're in need of a quick yet satisfying dinner, consider this effortless approach to rotisserie chicken.
Enjoy the convenience and deliciousness of these recipes as part of your regular meal rotation.