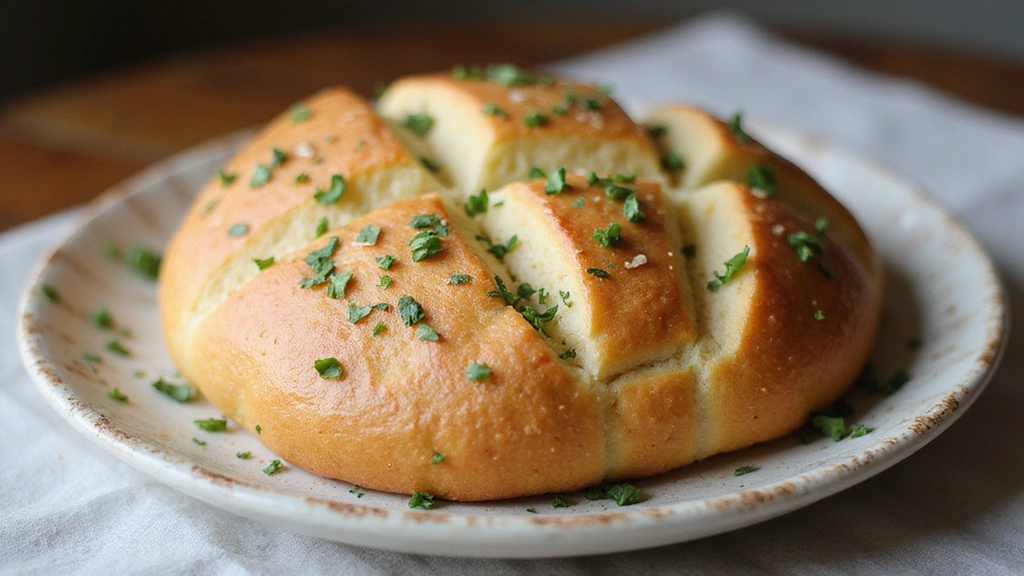


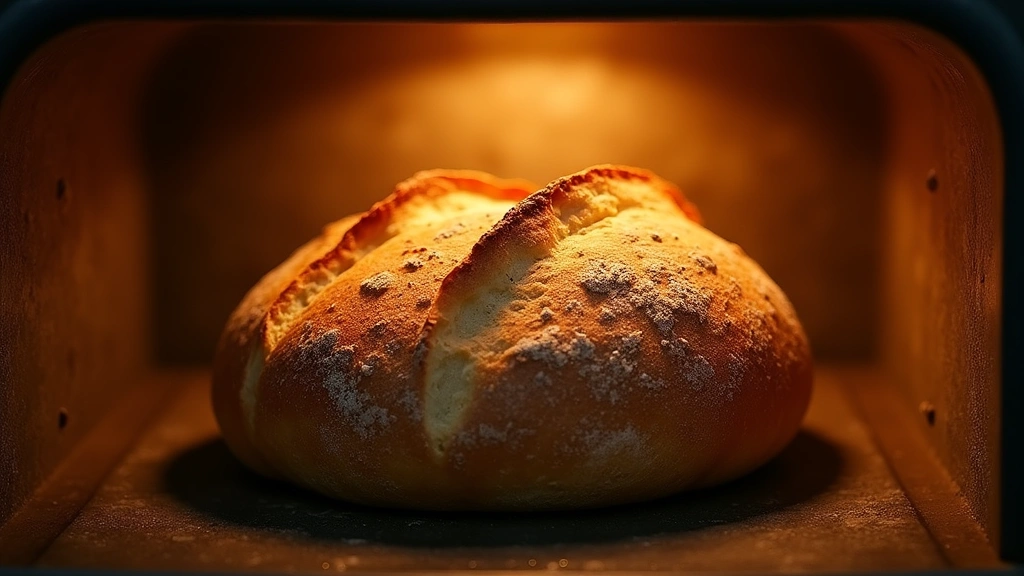
There’s nothing quite like the smell of freshly baked bread wafting through your home.
With just a few basic ingredients, you can create a loaf that is both satisfying and delicious.
The beauty of this simple homemade bread recipe lies in its accessibility and ease.
Whether you’re a seasoned baker or a complete novice, this recipe is designed to deliver success every time.
Embrace the joy of baking with this foolproof guide that requires no prior experience.
Your kitchen will transform into a bakery, and you’ll be hooked on homemade goodness.
The History and Cultural Significance
• Simple Homemade Bread traces its origins to ancient Egypt, where it was originally created by fermenting wild grains.
• The dish evolved over decades as techniques improved with the use of yeast, eventually becoming the beloved version we know today.
• In many cultures, this dish traditionally appears at family gatherings and celebrations, symbolizing sustenance and togetherness.
• While many variations exist across different regions, the authentic version maintains a crusty exterior and soft interior that sets it apart from imitations.
Recommended Products
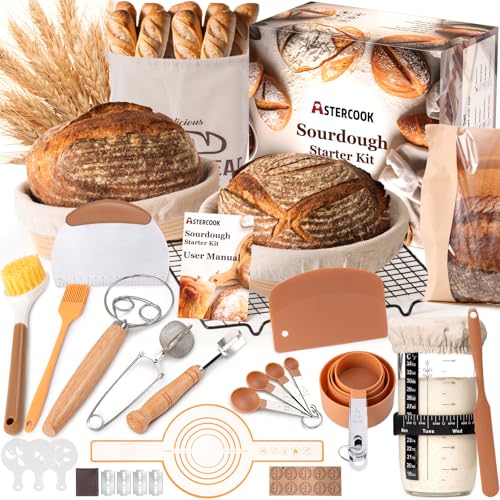
【All in One Sourdough Starter Kit】 Unlike basic sourdough proofing basket sets, this complete kit includes everything. You get a 9” round and a 10” oval banneton basket, bread sling, starter jar, scrapers, stencils, measuring tools, cooling rack, bread bags, and more. It covers every step from feeding your starter to baking and sharing.

【ALL-IN-ONE Sourdough Starter Kit for Beginners】Stop the Overwhelm & Start Baking! This complete sourdough starter kit has everything you need. Forget hunting for separate tools – just add flour & water. Includes 9&10 inch proofing baskets, 1000ml glass jar with thermometer, dough scraper, lame, whisk, brushes, and MORE. Perfect for beginners seeking an easy sourdough starter kit

【Great Value Sourdough Kit】Our comprehensive sourdough baking kit includes everything you need to start your sourdough journey with ease. It features a Round Proofing Basket (9 Inch), Sourdough Starter Jar, Silicone Spatula, Dough Whisk, Bread Lame, Stainless Steel Scraper, and more. This all-in-one kit is designed to make sourdough baking accessible to both beginners and experienced bakers. You’ll have all the essential tools to create perfectly baked loaves from start to finish

Recipe Overview
Recommended Products

The outstanding performance of its fermentation action and its speed of use are the main benefits of saf-instant yeast.
![One in a Mill Instant Dry Yeast | 1.1 LB (Pack Of 1) [IMPROVED] Fast Acting Self Rising Yeast for Baking Bread, Cake, Pizza Dough Crust | Kosher | Quick Rapid Rise Leavening Agent for Pastries](https://m.media-amazon.com/images/I/410rlbBZAvL._SL500_.jpg)
A YEAST THAT WILL RISE TO THE OCCASION: Enjoy baking your favorite breads, doughs, bagels, cakes, and croissants in just half the time! Our rapid rise yeast is carefully milled into the finest granules, enabling it to be easily mixed right into the ingredients without the needing for pre-hydration.
Save Time and Bake Delicious Bread: Scratch Gold Instant Dry Yeast is the premier Instant Dry Yeast for making quality baked products. Scratch Gold does not need to be pre-hydrated prior to use, making it superior to standard active dry yeast for bread, and works well in no-time, short term, and conventional time bread making methods.
Nutritional Information (per serving)
Recommended Products

PERFECT 3 QUART MEDIUM SIZE: This medium stainless steel mixing bowl provides 3.5 quart capacity for mixing cookie dough whisking sauces and preparing family meals without taking up excessive counter space


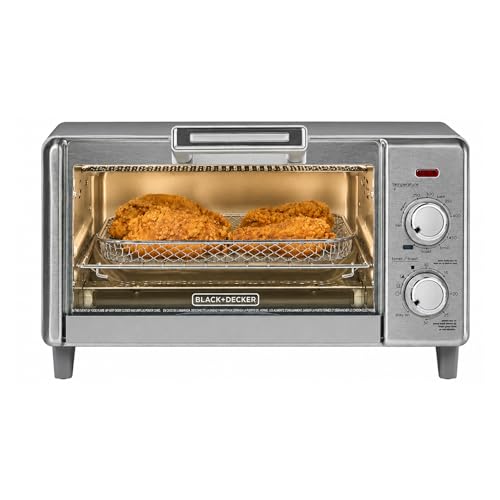
Essential Equipment Guide
Mixing Bowl: A large mixing bowl is crucial for combining ingredients and allowing the dough to rise. A stainless steel or glass bowl works best as it retains the dough’s temperature well.
Baking Sheet: A reliable baking sheet ensures even heat distribution for a perfectly baked crust. Look for a heavy-duty sheet to prevent warping.
Kitchen Scale: Precision is key in baking, and a kitchen scale helps in measuring ingredients accurately. Opt for a digital scale for easy readability and accuracy.


Ingredients
For the Base
|
| Amount | Ingredient | Notes |
|---|---|---|
| 3 cups | all-purpose flour | sifted for a light texture |
| 1 teaspoon | salt | enhances flavor |
| 1 tablespoon | sugar | aids in fermentation |
| 1 packet | instant yeast | for leavening |
| 1 cup | warm water | activates yeast |


Preparation Methods
Kneading: Kneading is crucial for developing gluten, which gives bread its structure. Use the heel of your hand to push the dough away, fold it back, and rotate it. Practice makes perfect, so don’t rush this step.
Proofing: This is the process of letting the dough rise. It’s important for flavor development and texture. Cover the bowl with a damp towel and place it in a warm spot until it doubles in size, which usually takes about an hour.
Shaping: Proper shaping ensures an even bake. Gently deflate the dough, shape it into a loaf by folding it over itself, and tuck the ends underneath.

Step 1: Gather Ingredients
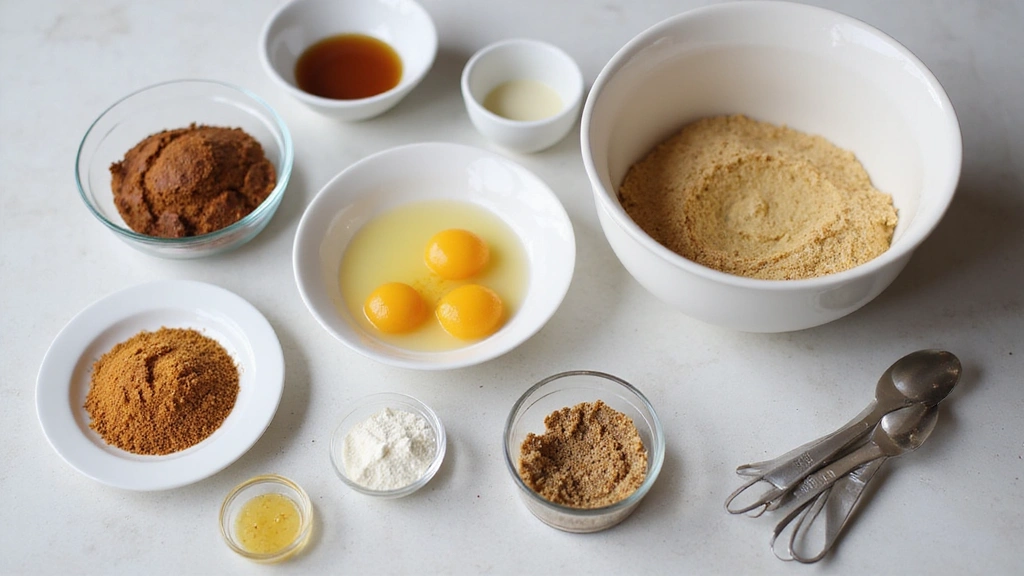
Begin by collecting all necessary ingredients and equipment.
Ensure your workspace is clean and organized.
Measure out each ingredient precisely using a kitchen scale.
Having everything in place will make the process smoother.
Step 2: Mix Dry Ingredients
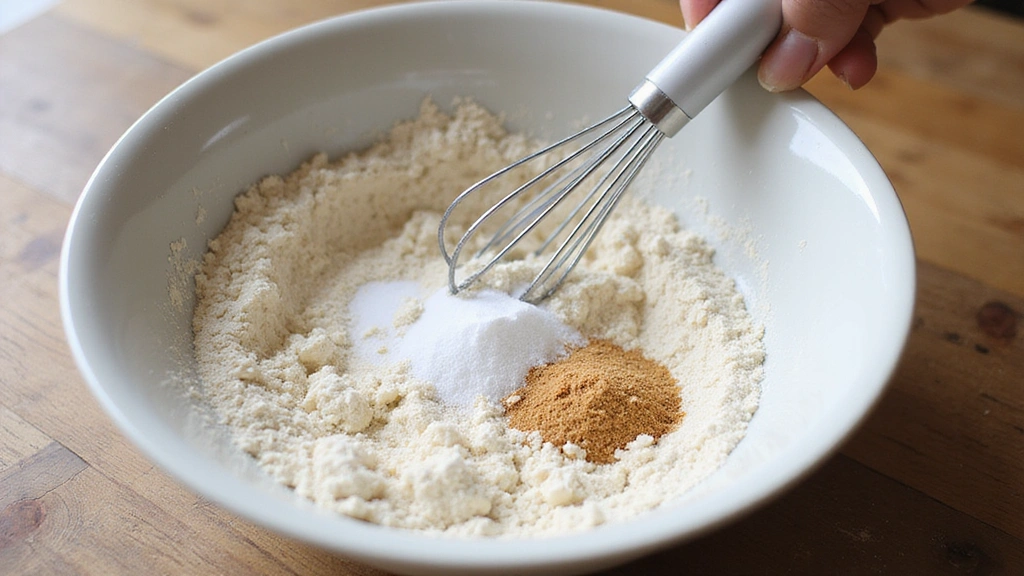
In a large mixing bowl, combine the flour, salt, sugar, and yeast.
Use a whisk to evenly incorporate the dry ingredients.
Ensure there are no clumps in the mixture.
This step creates a uniform base for your dough.
Step 3: Add Water
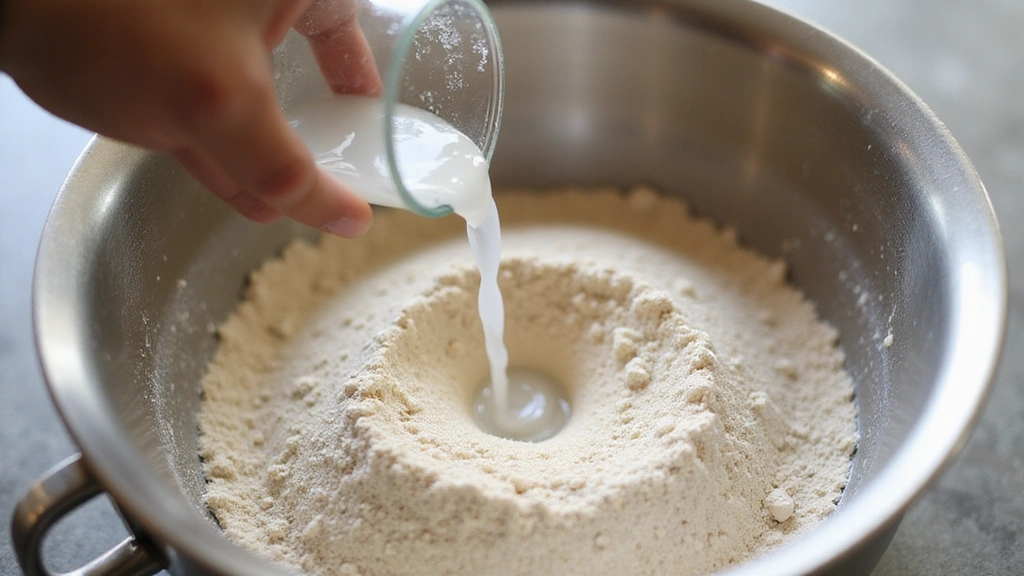
Make a well in the center of the dry ingredients.
Pour the warm water into the well.
Using a wooden spoon, mix until a shaggy dough forms.
The dough should be slightly sticky but manageable.
Step 4: Knead the Dough
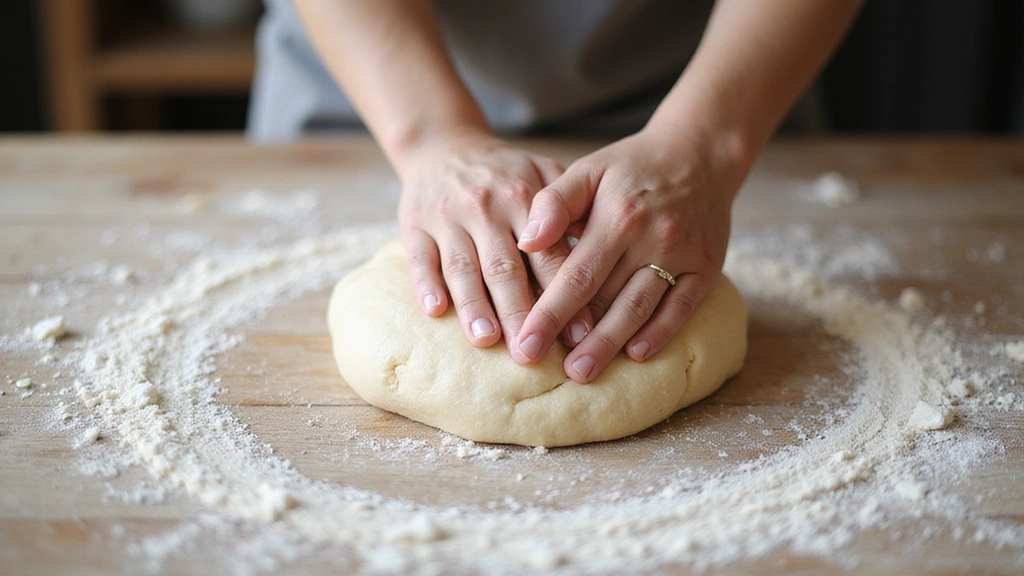
Turn the dough onto a lightly floured surface.
Knead it by hand for about 10 minutes until smooth and elastic.
If the dough sticks to your hands, dust it with a bit more flour.
Proper kneading will develop the gluten necessary for structure.
Step 5: First Proofing
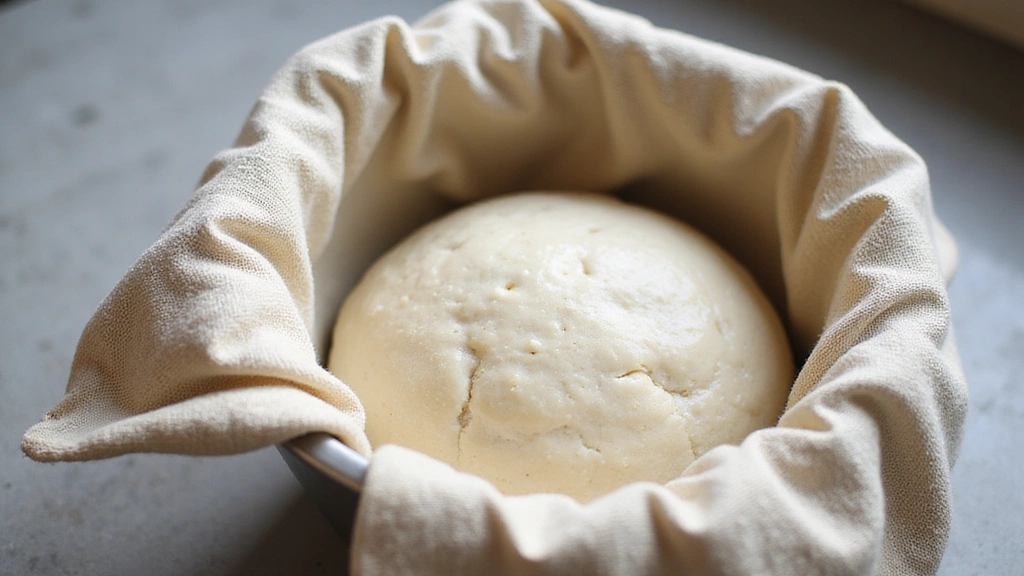
Place the kneaded dough back into the mixing bowl.
Cover the bowl with a damp cloth or plastic wrap.
Let it rise in a warm, draft-free area for about 1 hour.
The dough should double in size during this time.
Step 6: Shape the Loaf
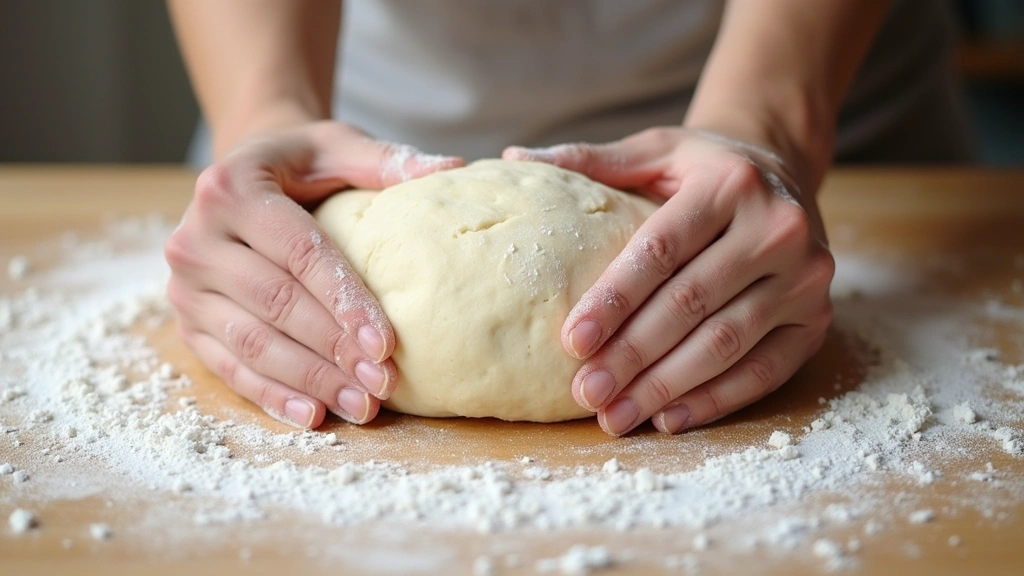
After the first rise, gently deflate the dough by pressing it down.
Transfer it to a lightly floured surface and shape it into a loaf.
Tuck the ends under to create a smooth top.
Proper shaping ensures an even bake and aesthetic appearance.
Step 7: Second Proofing
Place the shaped loaf onto a baking sheet lined with parchment paper.
Cover it loosely with a cloth and let it rise again for about 30 minutes.
The loaf should puff up and hold its shape.
This second rise will improve the bread's texture and volume.
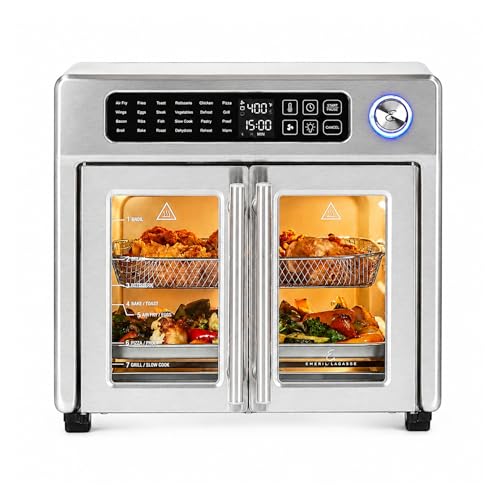
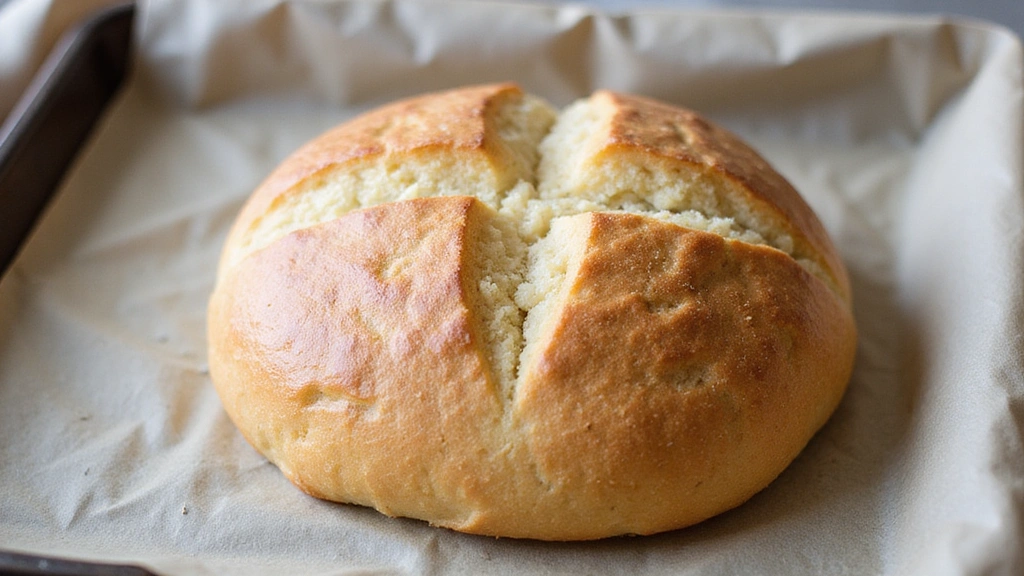
Step 8: Bake the Bread
Preheat your oven to 375°F (190°C).
Once preheated, place the baking sheet in the center of the oven.
Bake for 30 minutes until the bread is golden brown.
A hollow sound when tapped on the bottom indicates doneness.


Critical Timing and Temperature Guide
Initial Mixing: Mix for about 5 minutes until ingredients are just combined. Avoid overmixing to prevent tough dough.
First Proofing: Let dough rise for at least 1 hour in a warm area, ideally around 75°F (24°C). Dough should double in size.
Baking: Bake at 375°F (190°C) for 30 minutes. Look for a golden crust and hollow sound when tapped.
Pro Tips for Simple Homemade Bread
• Ingredient Selection: Use high-quality all-purpose flour and fresh yeast for the best texture and flavor.
• Preparation Secret: Let the dough rest for 10 minutes after mixing before kneading to improve gluten development.
• Temperature Management: Ensure water is warm (around 110°F) to activate yeast without killing it.
• Texture Enhancement: Knead the dough until it is smooth and elastic to ensure a chewy but airy crumb.
• Flavor Layering: Add a teaspoon of olive oil to enhance flavor and moisture in the bread.
• Make-Ahead Strategies: Prepare dough a day in advance and refrigerate overnight for enhanced flavor and convenience.
• Restaurant-Quality Finishing Touches: Brush the loaf with melted butter after baking for a soft crust and added richness.
• Equipment Optimization: If you don't have a baking sheet, use a cast-iron skillet for a crispier crust.

Troubleshooting Common Issues
• Texture Too Dense: Caused by insufficient kneading or proofing. Ensure dough is kneaded until smooth and allowed to double in size during proofing.
• Flavors Unbalanced: Incorrect salt or sugar measurements can lead to bland or overly sweet bread. Use precise measurements for balance.
• Crust Too Thick: Overbaking results in a thick crust. Bake for the recommended time and check for doneness by tapping the bottom.
• Underbaked Center: If the center is doughy, the oven temperature may be too low. Use an oven thermometer to verify temperature.
• Flat Loaf: Caused by overproofing. Monitor dough during proofing and bake when it has doubled in size, not more.
Variations and Regional Differences
• French Baguette: This version uses a longer fermentation process and is shaped into a long, thin loaf with a crispy crust.
• Italian Ciabatta: Known for its airy crumb and rustic texture, ciabatta uses a wetter dough and is often baked on a stone.
• Irish Soda Bread: A quick bread that uses baking soda instead of yeast, resulting in a denser texture and slight tanginess.
• Pita Bread: Originating from the Middle East, this flatbread is cooked at high temperatures to create a pocket.


Food Science Behind the Recipe
• Gluten Development: Kneading develops gluten, creating a network that traps gases and gives bread structure.
• Yeast Fermentation: Yeast consumes sugars, releasing carbon dioxide that causes the dough to rise.
• Maillard Reaction: Baking induces the Maillard reaction, which browns the crust and enhances flavor.
Frequently Asked Questions
What's the most common mistake people make when preparing homemade bread? Overproofing the dough, leading to a flat loaf.
Can I use whole wheat flour instead of all-purpose flour? Yes, but adjust the water content as whole wheat absorbs more moisture.
How can I tell if my yeast is still active? Dissolve it in warm water with sugar; it should foam within 10 minutes.
Do I need a stand mixer to make this bread? No, hand-kneading works perfectly fine, though it may require more effort.
How do I store leftover bread? Wrap it in a clean towel and keep it in a bread box to maintain freshness.
Can I freeze the dough? Yes, freeze after shaping and let it defrost and rise before baking.
What should I do if my dough is too sticky? Add small amounts of flour during kneading until it is manageable.
Serving and Presentation Guide
• Traditional Presentation: Serve the loaf whole on a wooden cutting board with a bread knife for a rustic touch.
• Modern Twist: Slice the bread and arrange it in a bread basket lined with a linen napkin.
• Family Style: Cut into thick slices and serve with a variety of spreads such as butter, jam, or olive tapenade.
• Brunch Display: Pair slices with a cheese and fruit platter for an elegant brunch presentation.


Conclusion
Baking homemade bread is a rewarding experience that fills your home with warmth and comfort.
Armed with this simple recipe, you can enjoy fresh, delicious bread any day of the week.
Remember, practice makes perfect, and each loaf will get better as you refine your skills.
Embrace the joy of baking and share this delightful homemade treat with family and friends.