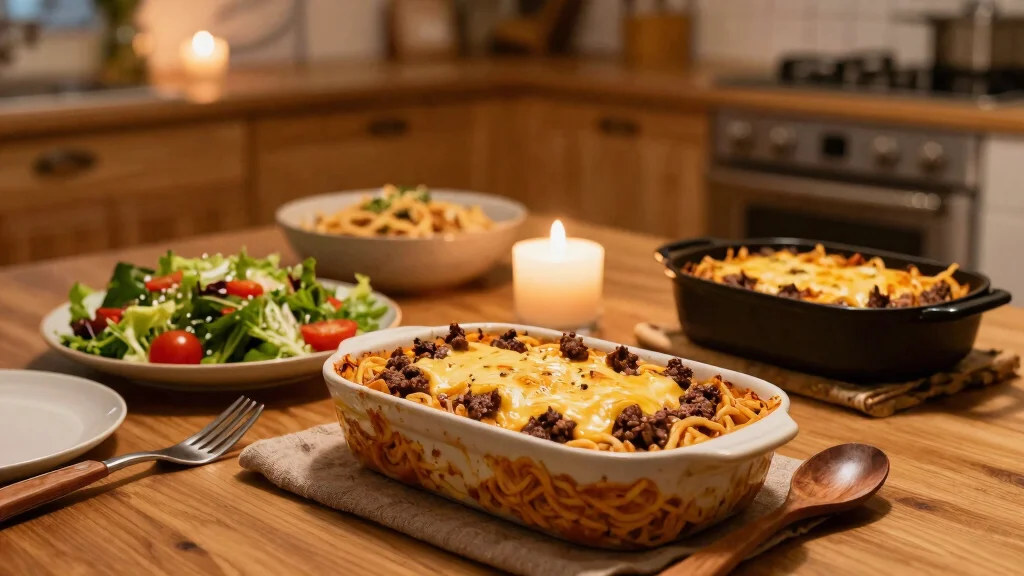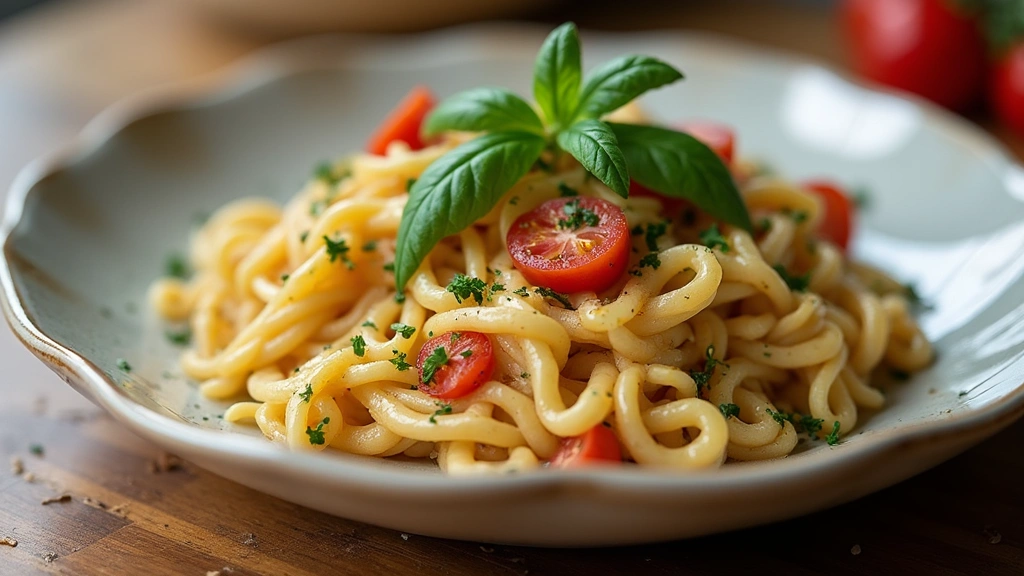


This classic gluten-free recipe brings together a blend of wholesome ingredients to create a dish that’s both comforting and inclusive.
The harmonious balance of naturally gluten-free grains and fresh veggies creates a memorable dining experience that will have everyone asking for your secret.
I discovered this recipe during my travels through the Mediterranean, where local chefs have perfected it through generations of careful refinement.
Whether you’re preparing a casual family dinner or hosting a special celebration, this gluten-free dish delivers impressive results with straightforward preparation.
The History and Cultural Significance
• Simple Gluten Free traces its origins to the Mediterranean region, where it was originally created by innovative cooks seeking healthy alternatives.
• The dish evolved over decades as gluten-free grains and fresh produce became more accessible, eventually becoming the beloved version we know today.
• In Mediterranean culture, this dish traditionally appears at family gatherings, symbolizing health and unity.
• While many variations exist across different regions, the authentic version maintains its emphasis on fresh, seasonal ingredients that set it apart from imitations.
Recommended Products

UST STIR AND GO — READY-TO-EAT QUINOA MEALS ANYTIME Perfectly portioned quinoa cups ready in seconds — no cooking, water, or refrigeration needed. Enjoy a light yet satisfying meal for breakfast, lunch, snack, or dinner with the included spoon for true on-the-go convenience.

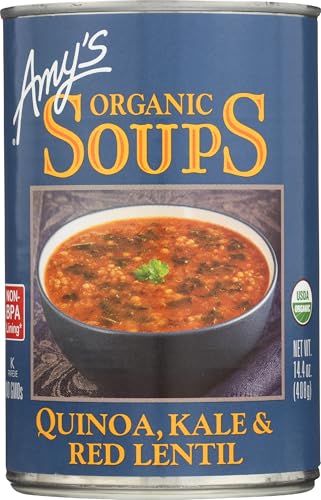
One 14.4-oz can of Amy's Organic Quinoa, Kale and Red Lentil Soup


Recipe Overview
Recommended Products


NUTRIENT BLEND: Quinoa may be a small seed, but it is full of nutrients that can help men and women of all ages live a better life. In every serving of our organic powder, you’ll find many nutrients, including fiber, protein, and iron, making it a great bonus to any meal at home or on the go.

Nutritional Information (per serving)
Recommended Products
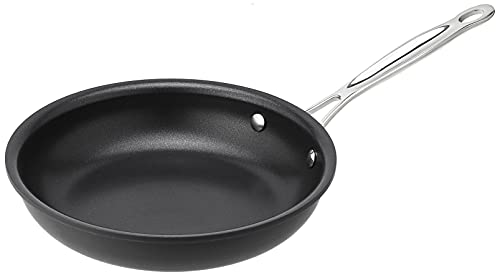
Hard anodized exterior for even heat distribution

DURABLE, DISHWASHER SAFE COOKING PAN: This dishwasher safe nonstick jumbo cooker's heavy-duty construction heats fast and evenly

Non-Toxic Ceramic Coating & Super Easy to Clean - All ESLITE LIFE pan and pot products are free of PTFE & PFOA, SGS approved, requiring less oil or butter for cooking and minimal scrubbing for a spotless clean, giving you a healthier and more enjoyable at-home cooking experience.


Essential Equipment Guide
Large Skillet: A large skillet is important for evenly cooking vegetables and grains together, ensuring a consistent texture and flavor. Alternatives like a wok can work, but a non-stick surface is preferable.
Mixing Bowl: A mixing bowl is crucial for combining ingredients evenly before cooking. Look for a bowl with a non-slip base for added stability.
Sharp Knife: A sharp knife is essential for precise chopping of vegetables, which affects both texture and cooking time. A chef’s knife or a santoku knife are good options.


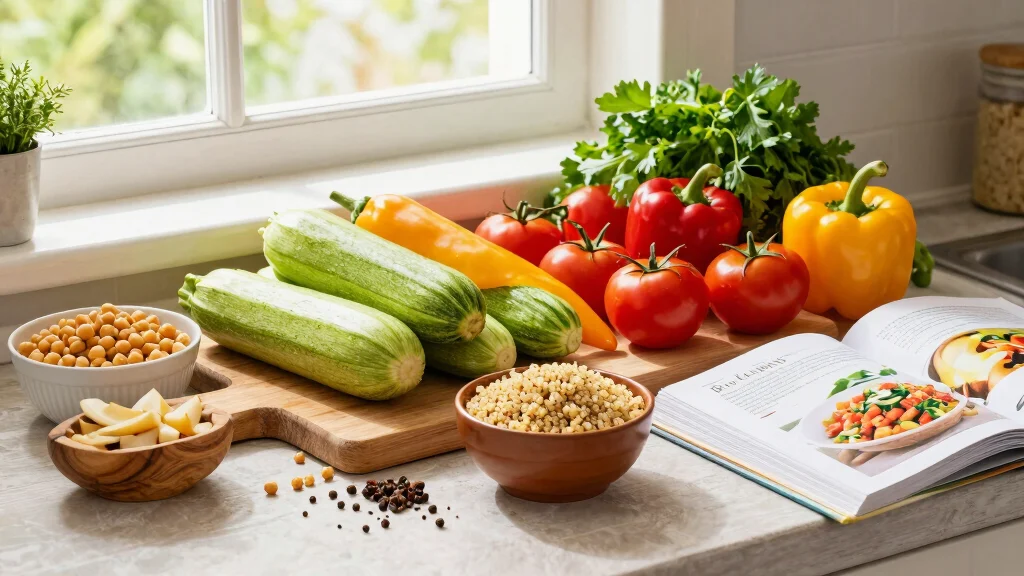
Ingredients
For the Base
|
| Amount | Ingredient | Notes |
|---|---|---|
| 1 cup | quinoa | rinsed and drained |
| 2 cups | vegetable broth | adds depth of flavor |
Vegetables
| Amount | Ingredient | Notes |
|---|---|---|
| 1 large | bell pepper | chopped |
| 1 medium | zucchini | sliced |
| 1 cup | cherry tomatoes | halved |
Seasonings
| Amount | Ingredient | Notes |
|---|---|---|
| 2 tablespoons | olive oil | adds richness |
| 1 teaspoon | salt | enhances flavor |
| 1/2 teaspoon | black pepper | adds spice |
Preparation Methods
Rinsing Quinoa: Rinsing quinoa is crucial to remove its natural coating, saponin, which can taste bitter. Use a fine-mesh strainer and cold water, rubbing the grains gently.
Chopping Vegetables: Uniform chopping ensures even cooking. Aim for similar-sized pieces, and use a sharp knife to make clean cuts.
Sautéing: This technique involves cooking food quickly over high heat with a small amount of oil. It is essential for enhancing the flavor of the vegetables in this dish.

Step 1: Prepare Ingredients
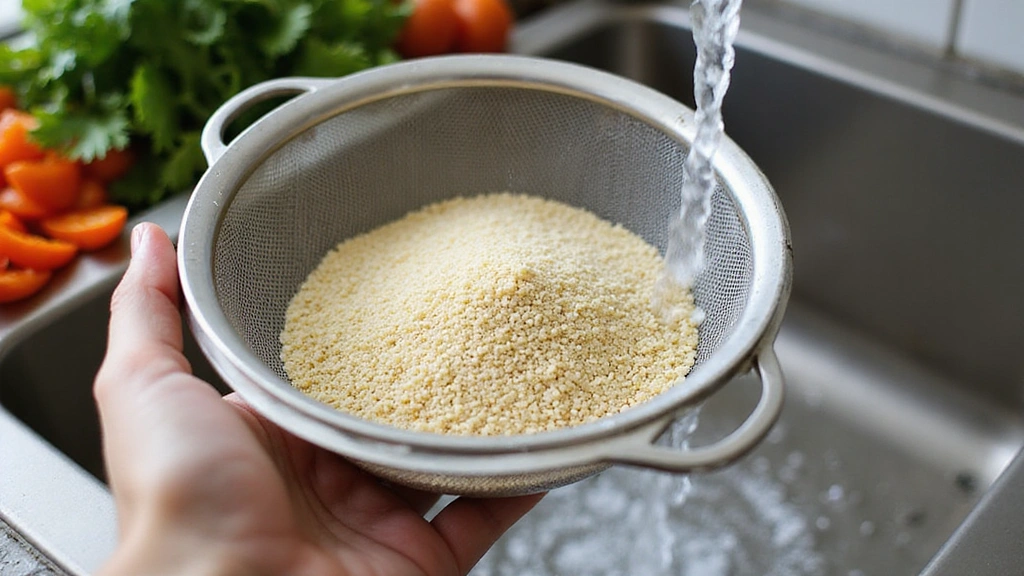
Rinse the quinoa under cold water using a fine-mesh strainer.
Ensure all saponin is removed from the quinoa to avoid bitterness.
Chop the bell pepper and slice the zucchini into even pieces.
Half the cherry tomatoes for a consistent texture when cooking.

Step 2: Cook Quinoa
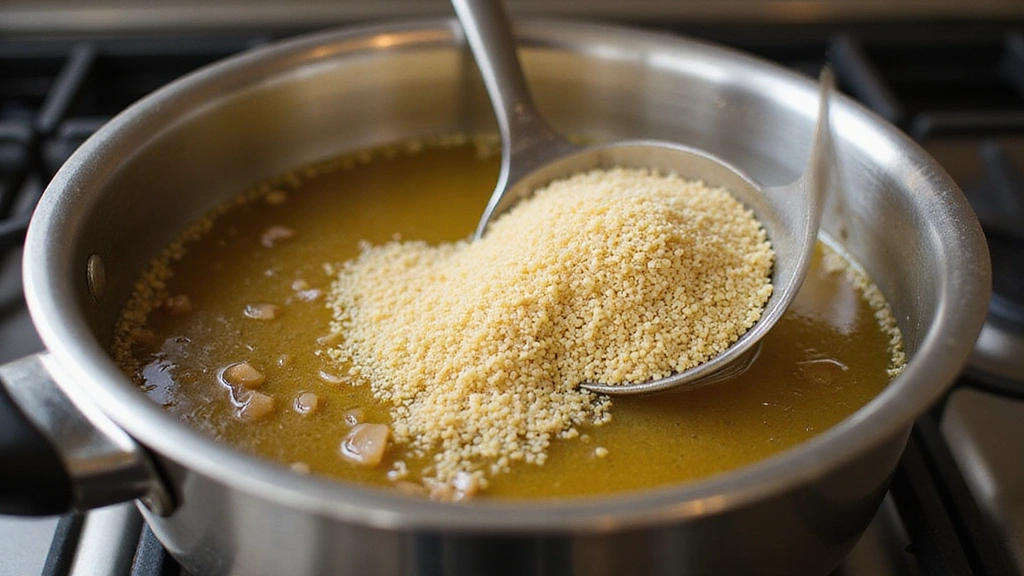
In a medium saucepan, bring vegetable broth to a boil.
Add the rinsed quinoa to the boiling broth and stir.
Reduce heat to low, cover, and simmer for about 15 minutes.
Check for doneness by fluffing with a fork; the grains should be tender.
Step 3: Heat Skillet
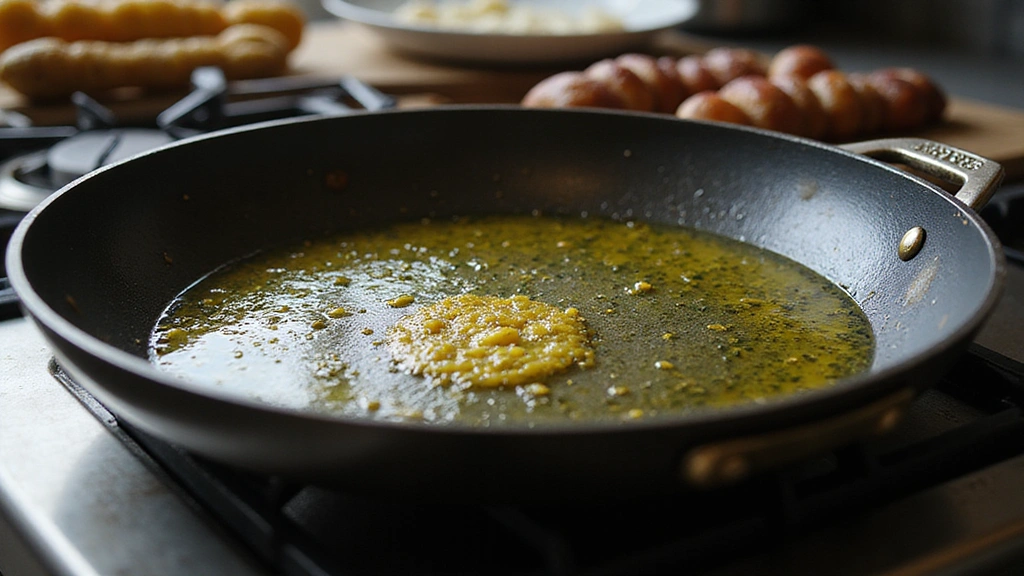
Place a large skillet over medium-high heat and add olive oil.
Allow the oil to heat until it shimmers, indicating it's ready.
Ensure the skillet is evenly coated with oil to prevent sticking.
Check the temperature by dropping a small piece of vegetable; it should sizzle.
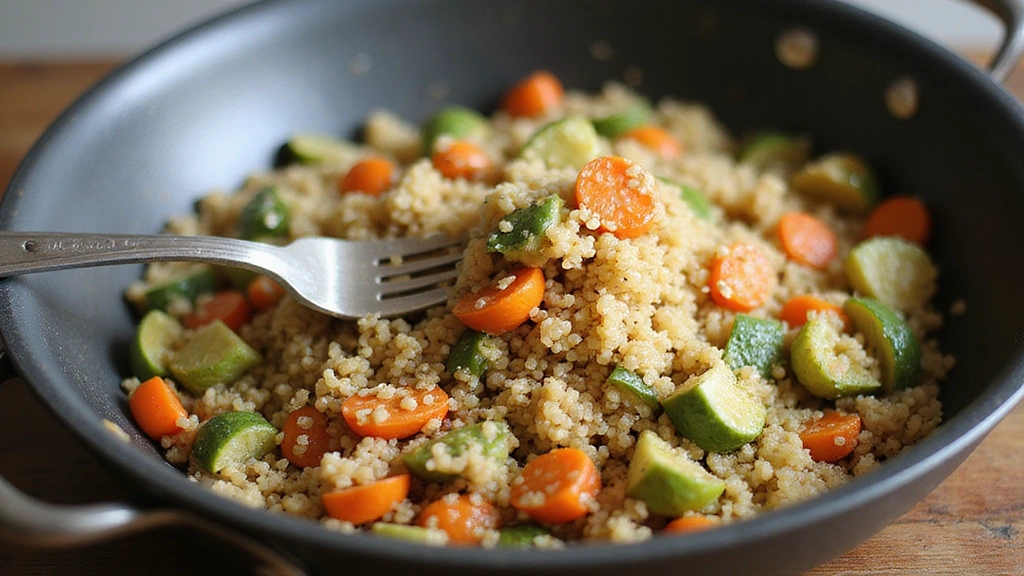
Step 4: Sauté Vegetables
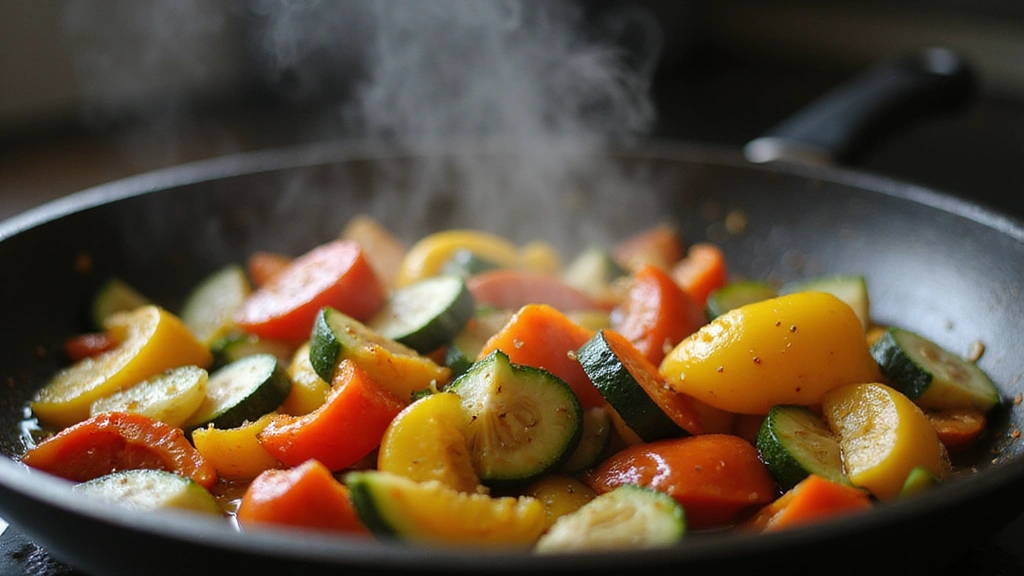
Add the chopped bell pepper and sliced zucchini to the hot skillet.
Sauté for 5-7 minutes until vegetables are tender and slightly browned.
Stir occasionally to ensure even cooking and prevent burning.
Add halved cherry tomatoes in the last minute to soften slightly.
Step 5: Season Vegetables
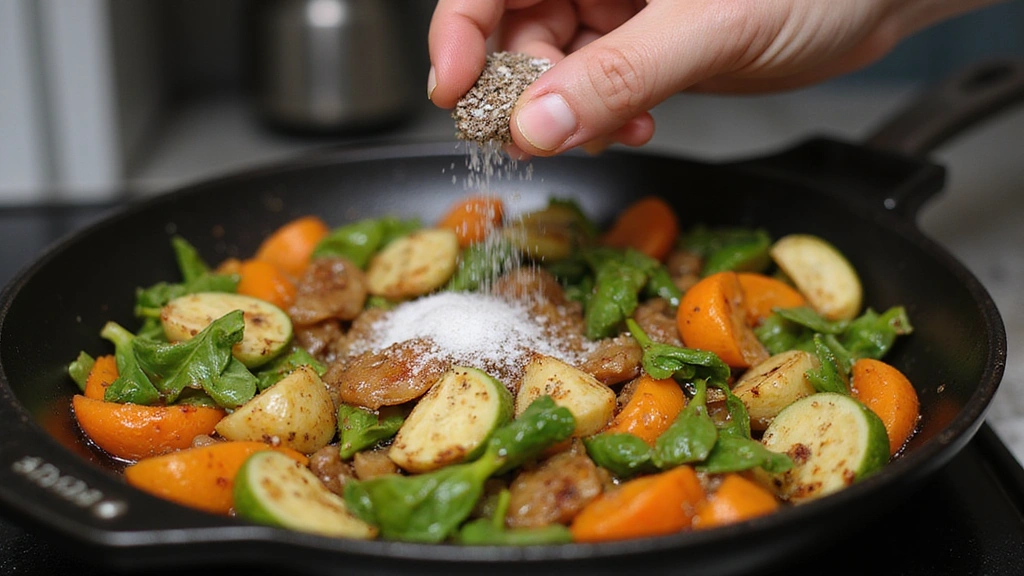
Sprinkle salt and black pepper over the sautéed vegetables.
Stir to distribute the seasonings evenly throughout the vegetables.
Taste and adjust seasoning if necessary, adding more salt or pepper to taste.
Remove skillet from heat once vegetables are perfectly seasoned.
Step 6: Combine Quinoa and Vegetables
Fluff the cooked quinoa with a fork to separate grains.
Add the sautéed vegetables to the quinoa in the saucepan.
Gently fold the vegetables into the quinoa until well combined.
Ensure all ingredients are evenly distributed for consistent flavor.
Step 7: Adjust Seasoning
Taste the combined quinoa and vegetable mixture.
Add additional olive oil if desired for extra richness.
Adjust salt and pepper to enhance the overall flavor profile.
Mix well after adding any additional seasonings.
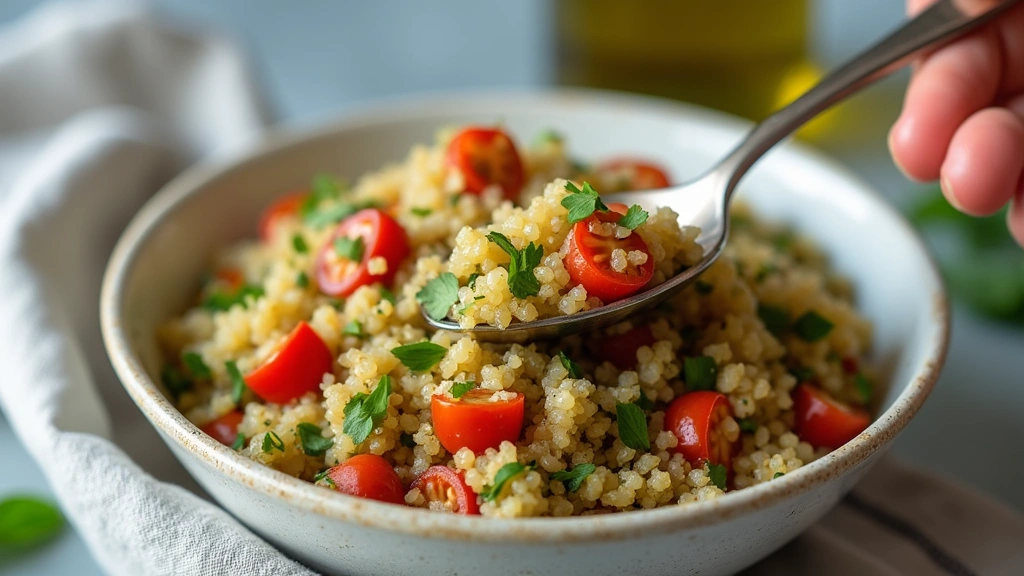
Step 8: Serve and Enjoy
Spoon the quinoa and vegetable mixture into serving bowls.
Garnish with fresh herbs like parsley or basil for added freshness.
Serve warm, allowing the flavors to meld together elegantly.
Enjoy the gluten-free dish with your favorite sides or on its own.
Critical Timing and Temperature Guide
Cooking Quinoa: Simmer quinoa at low heat for 15 minutes, ensuring the lid remains on to trap steam; avoid overcooking which can make it mushy.
Sautéing Vegetables: Maintain medium-high heat, cooking for 5-7 minutes until tender and slightly browned; avoid overcrowding the skillet which can steam instead of sauté.
Combining Ingredients: Mix quinoa and vegetables while both are warm to allow flavors to meld; avoid letting ingredients cool separately which can reduce flavor integration.
Pro Tips for Simple Gluten Free
• Ingredient Selection: Choose high-quality quinoa and fresh, vibrant vegetables for the best flavor and texture. Organic produce can make a noticeable difference.
• Preparation Secret: Rinsing quinoa is a crucial step often overlooked; it prevents bitterness and enhances the natural nutty flavor.
• Temperature Management: Ensure the skillet is adequately heated before adding vegetables to achieve the perfect sauté.
• Texture Enhancement: Fluffing the quinoa with a fork instead of stirring preserves its light texture.
• Flavor Layering: Add a splash of lemon juice after cooking to brighten flavors and add acidity.
• Make-Ahead Strategies: Prepare quinoa and vegetables separately up to a day in advance; store in airtight containers and combine before serving.
• Restaurant-Quality Finishing Touches: Garnish with a sprinkle of toasted sesame seeds for added texture and visual appeal.
• Equipment Optimization: Use a high-quality non-stick skillet to prevent sticking without excess oil.
Troubleshooting Common Issues
• Quinoa Too Mushy: Overcooking or excess liquid can cause mushiness. Ensure you measure liquid accurately and keep an eye on cooking time.
• Vegetables Not Browning: This may occur if the skillet is overcrowded. Cook in batches if necessary to allow even browning.
• Lack of Flavor: Insufficient seasoning can lead to blandness. Taste and adjust salt and pepper levels during cooking.
• Ingredients Sticking to Skillet: A non-stick skillet or adequate oil is important. Ensure the skillet is hot enough before adding vegetables.
• Quinoa Clumping: Avoid stirring quinoa while cooking. Fluff with a fork once done to maintain separate grains.
• Vegetables Too Soft: Cook vegetables over high heat and avoid covering them to retain a slight crunch.
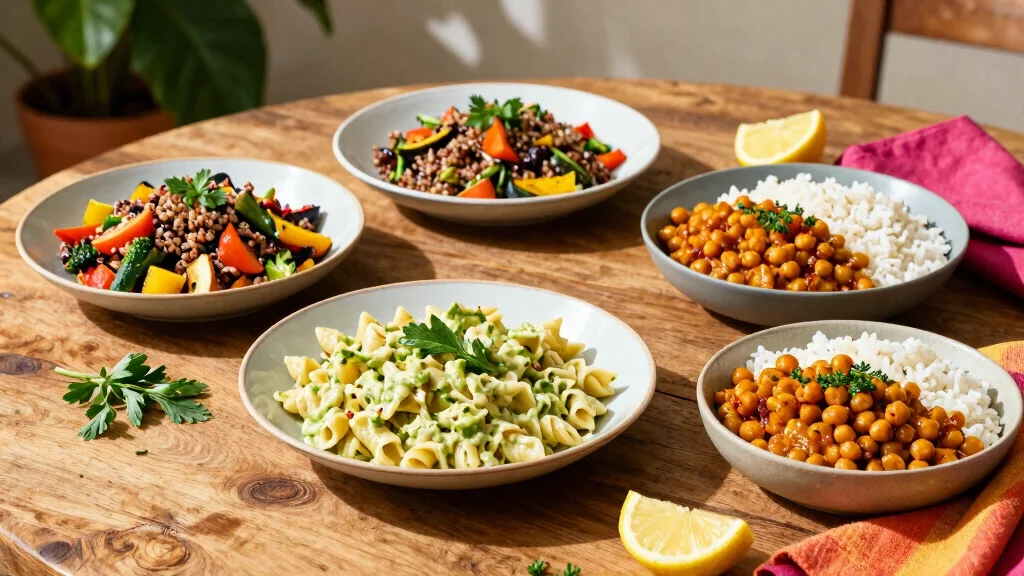
Variations and Regional Differences
• Italian Style: This version includes tomatoes, basil, and mozzarella for a caprese-inspired twist, emphasizing fresh and creamy elements.
• Middle Eastern Style: Incorporates spices like cumin and coriander, along with chickpeas for added protein and a heartier texture.
• Mexican Style: Adds black beans, corn, and avocado, along with a dash of lime juice for a refreshing, zesty profile.
• Asian Style: Features soy sauce, sesame oil, and ginger, with edamame and green onions, creating a savory and aromatic dish.
Food Science Behind the Recipe
• Saponin Removal: Rinsing quinoa removes saponin, a naturally occurring compound that can impart a bitter taste, improving the overall flavor profile.
• Maillard Reaction: Sautéing vegetables at high heat initiates the Maillard reaction, enhancing flavor through browning and caramelization.
• Gelatinization of Starch: Cooking quinoa in liquid causes starches to gelatinize, giving the grains their characteristic fluffy texture.
Frequently Asked Questions
What's the most common mistake people make when preparing gluten-free quinoa dishes? Overcooking the quinoa, leading to a mushy texture, is a frequent issue. Ensure you follow the recommended cooking time and liquid ratio.
Can I use other grains instead of quinoa? Yes, you can substitute quinoa with other gluten-free grains like millet or buckwheat, but adjust the cooking time and liquid accordingly.
How can I add more protein to this dish? Consider adding cooked chickpeas or grilled chicken for additional protein, providing a more balanced meal.
What are some gluten-free side dishes that pair well? Roasted vegetables, a simple green salad, or gluten-free bread complement this dish nicely.
Is it possible to make this dish vegan? Absolutely, the base recipe is already vegan. Ensure any additional ingredients or garnishes used are plant-based.
How do I store leftovers? Store in an airtight container in the refrigerator for up to three days. Reheat gently to preserve texture.
Can I freeze the dish? Yes, you can freeze cooked quinoa and vegetables for up to two months. Thaw in the fridge overnight and reheat before serving.
What if I don't have a non-stick skillet? Use a well-seasoned cast iron skillet or add a bit more oil to prevent sticking.
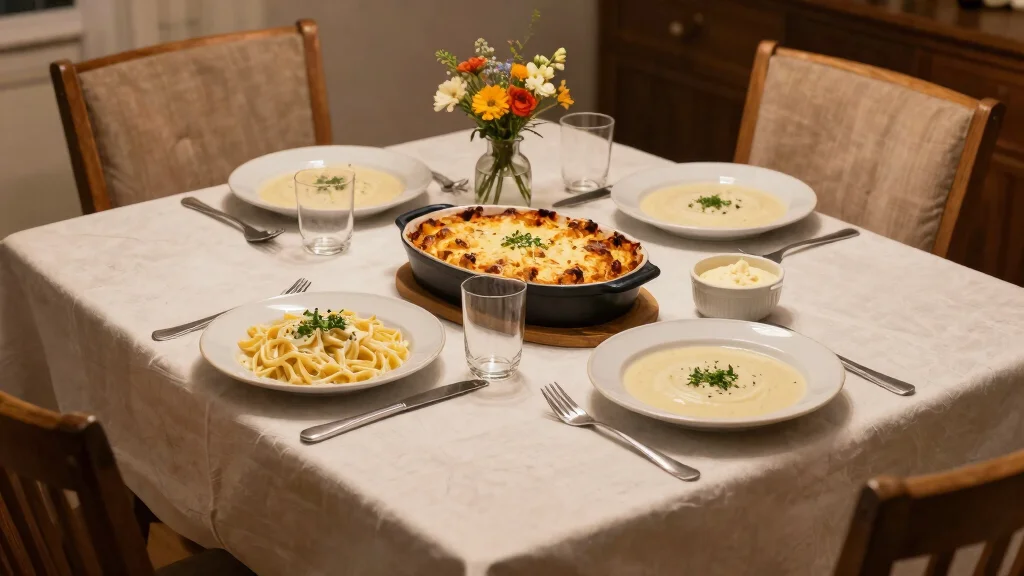
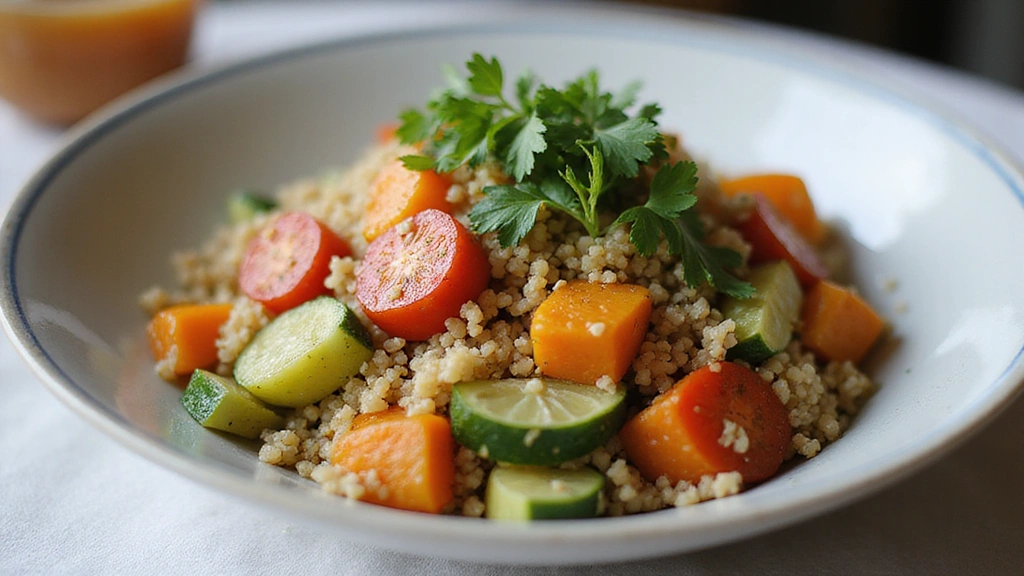
Serving and Presentation Guide
• Traditional Presentation: Serve the dish warm in a shallow bowl, garnished with fresh herbs and a wedge of lemon on the side.
• Family Style: Present in a large serving dish at the table, allowing guests to serve themselves, fostering a communal dining experience.
• Individual Portions: For a more formal setting, serve in individual bowls, topped with a sprinkle of sesame seeds and a drizzle of olive oil.
• Buffet Style: Arrange the quinoa and vegetables in separate sections on a platter, allowing customization with various toppings and sauces.


Conclusion
This simple gluten-free recipe offers a delicious and healthy option for any meal.
Its versatility and vibrant flavors make it suitable for various occasions, from casual dinners to festive gatherings.
Give it a try and enjoy a flavorful dish that everyone can savor, regardless of dietary preferences.