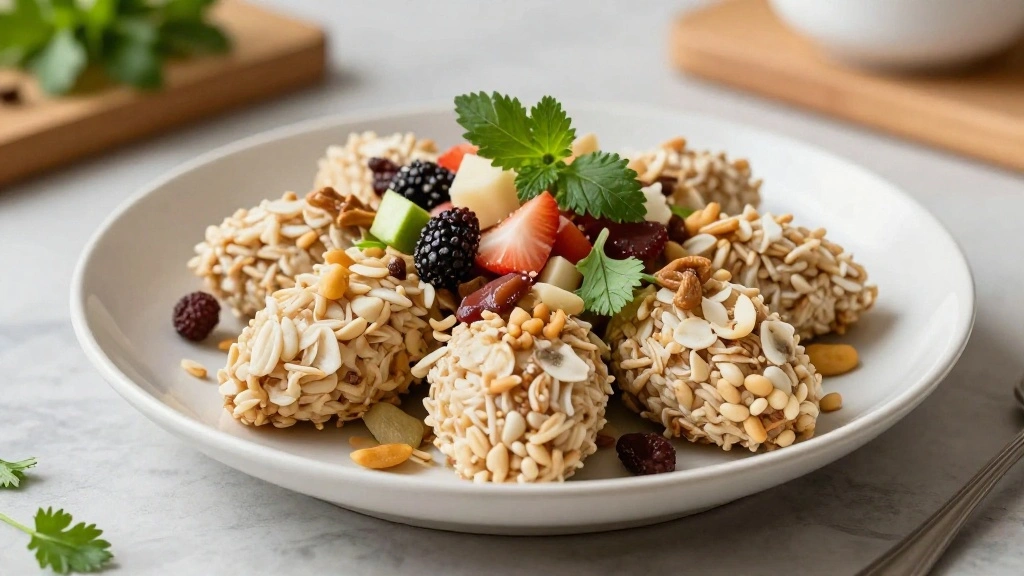


Overnight oats are a lifesaver for busy mornings, bringing together convenience and nutrition in one delightful dish.
The creamy texture combined with the subtle sweetness of oats provides a comforting start to your day.
I stumbled upon this recipe during my quest for quick morning meals, and it has since become a staple in my kitchen.
Whether it’s a hectic weekday or a leisurely weekend breakfast, overnight oats are both satisfying and versatile.
You can customize it with your favorite fruits, nuts, and spices, making it a personalized breakfast treat.
With minimal prep the night before, you can enjoy a hearty meal without the morning rush.
The History and Cultural Significance
• Overnight Oats Recipe traces its origins to Switzerland in the early 1900s, where it was originally created by Dr. Maximilian Bircher-Brenner as Bircher Muesli.
• The dish evolved over decades as people began adding various fruits, nuts, and sweeteners, eventually becoming the beloved version we know today.
• In European cultures, this dish traditionally appears at breakfast tables, symbolizing health and vitality.
• While many variations exist across different regions, the authentic version maintains a creamy texture and a balanced blend of flavors that sets it apart from imitations.


Recipe Overview
Nutritional Information (per serving)


Essential Equipment Guide
Glass Jars with Lids: These are perfect for storing overnight oats as they prevent air exposure and maintain freshness. Alternatives like plastic containers can work, but ensure they’re BPA-free. Look for jars with secure lids to avoid leaks.
Measuring Cups: Accurate measurements ensure the right consistency and taste. While eyeballing can work, using precise measurements helps achieve consistent results. Opt for a set that includes various sizes for versatility.
Mixing Spoon: A sturdy spoon helps in evenly mixing the ingredients, ensuring each bite is flavorful. Alternatives might include spatulas, but ensure they are easy to clean and durable.
Ingredients
For the Base
|
|
| Amount | Ingredient | Notes |
|---|---|---|
| 1 cup | rolled oats | provides a hearty texture |
| 1 cup | milk or plant-based milk | adds creaminess |
Flavor Enhancers
| Amount | Ingredient | Notes |
|---|---|---|
| 1 tablespoon | honey or maple syrup | adds sweetness |
| 1 teaspoon | vanilla extract | enhances flavor |
Toppings
| Amount | Ingredient | Notes |
|---|---|---|
| 1 cup | mixed berries | fresh or frozen, adds freshness |
| 2 tablespoons | chopped nuts | for crunch and nutrition |
Preparation Methods
Layering Technique: Layering the ingredients properly ensures an even distribution of flavors and textures. Start with the oats, followed by milk, and then sweeteners before adding toppings. This method helps in soaking flavors overnight, offering a delightful taste with every spoonful.
Cold Soaking: Allowing the oats to soak in milk overnight softens them without cooking, preserving nutrients while developing a creamy texture. This technique is crucial for overnight oats, as it transforms raw oats into a palatable meal.
Flavor Infusion: Mixing the sweeteners and extracts thoroughly with the oats before refrigerating ensures that the flavors infuse throughout the dish, offering a balanced sweetness and aroma in every bite.


Step 1: Gather Ingredients
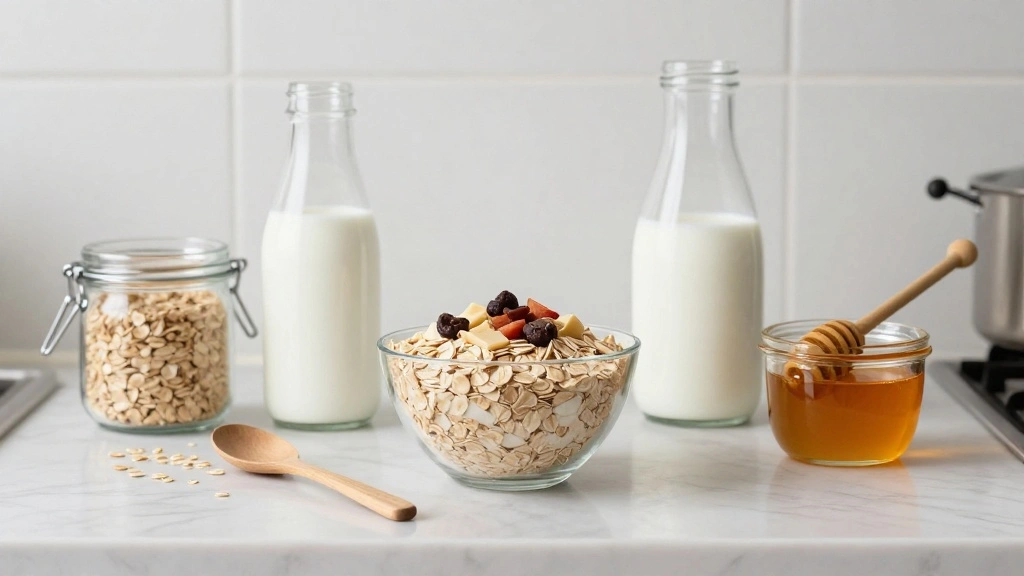
Collect all necessary ingredients on your kitchen counter.
Ensure freshness by checking the expiration dates.
Measure each ingredient accurately to maintain consistency.
Place them in an easily accessible position for seamless preparation.
Step 2: Prepare the Base
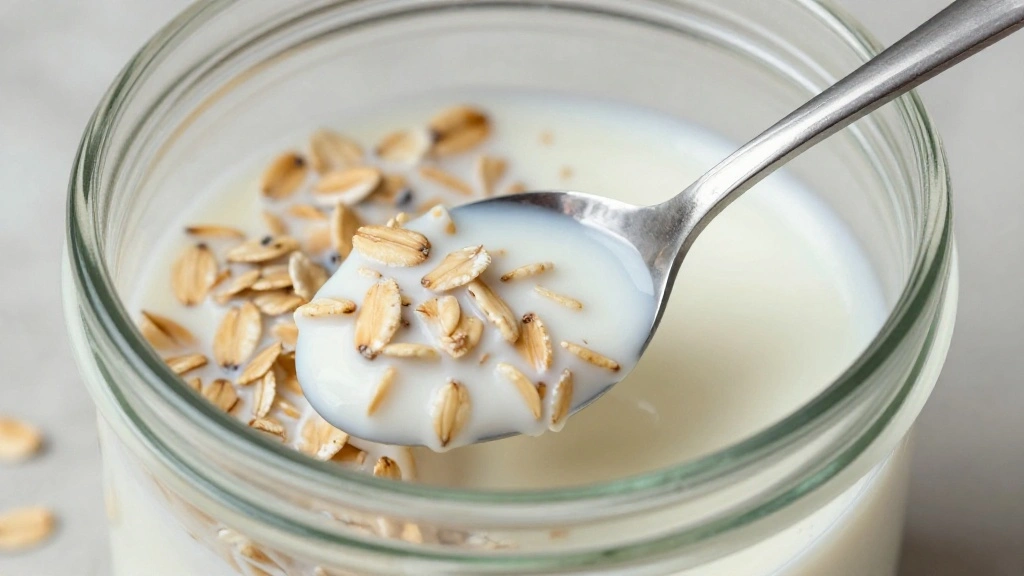
In a glass jar, add one cup of rolled oats.
Pour one cup of milk over the oats, covering them completely.
Stir gently to combine the oats and milk.
Ensure that no dry oats remain at the bottom of the jar.
Step 3: Add Sweeteners
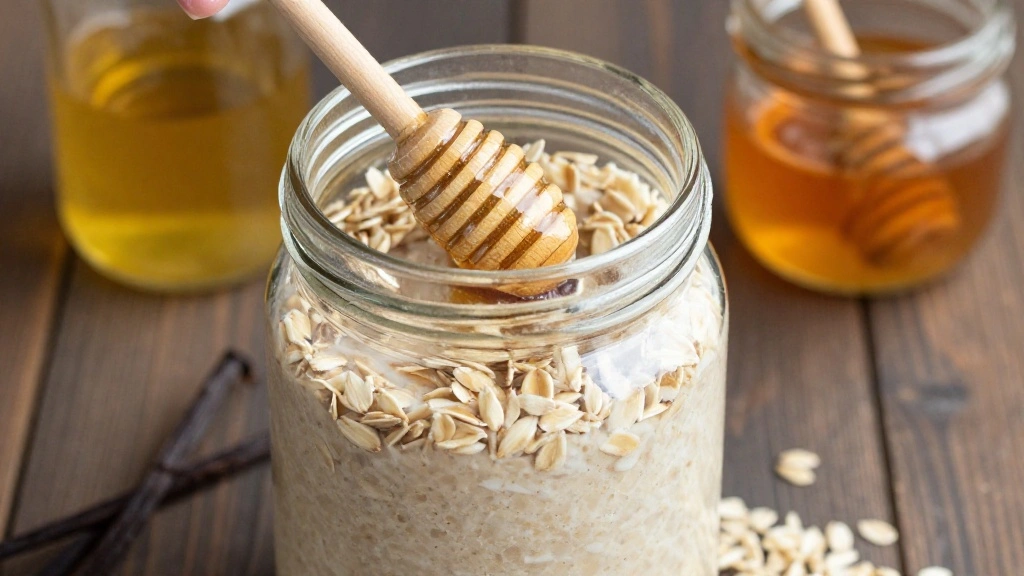
Add one tablespoon of honey or maple syrup to the mixture.
Include one teaspoon of vanilla extract for enhanced flavor.
Stir the mixture well to distribute the sweeteners evenly.
Taste and adjust sweetness according to preference.
Step 4: Incorporate Toppings
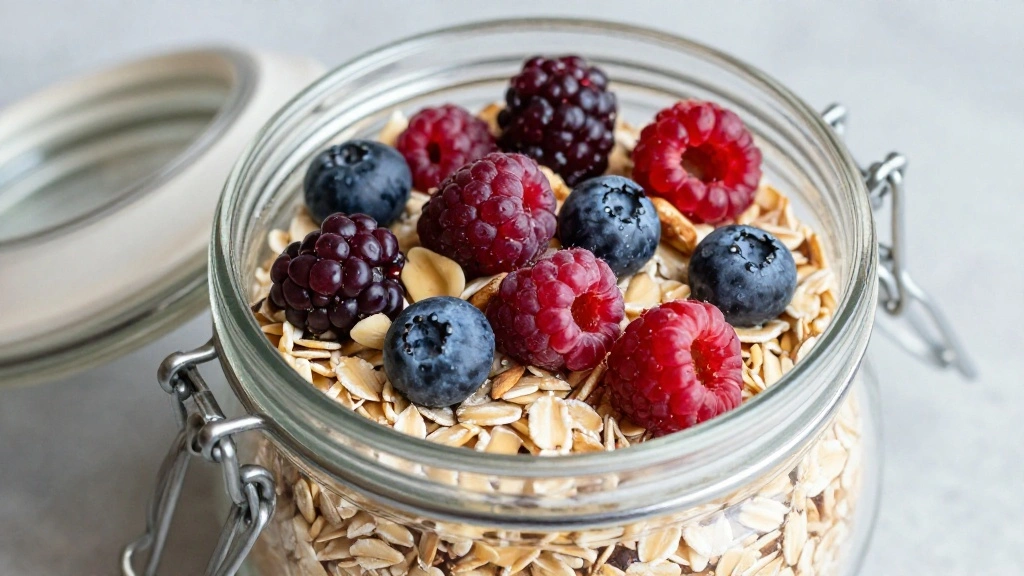
Add one cup of mixed berries to the top of the oat mixture.
Sprinkle two tablespoons of chopped nuts for added texture.
Press the toppings gently into the mixture without fully submerging them.
This step ensures the toppings remain visible and appetizing.
Step 5: Seal and Store
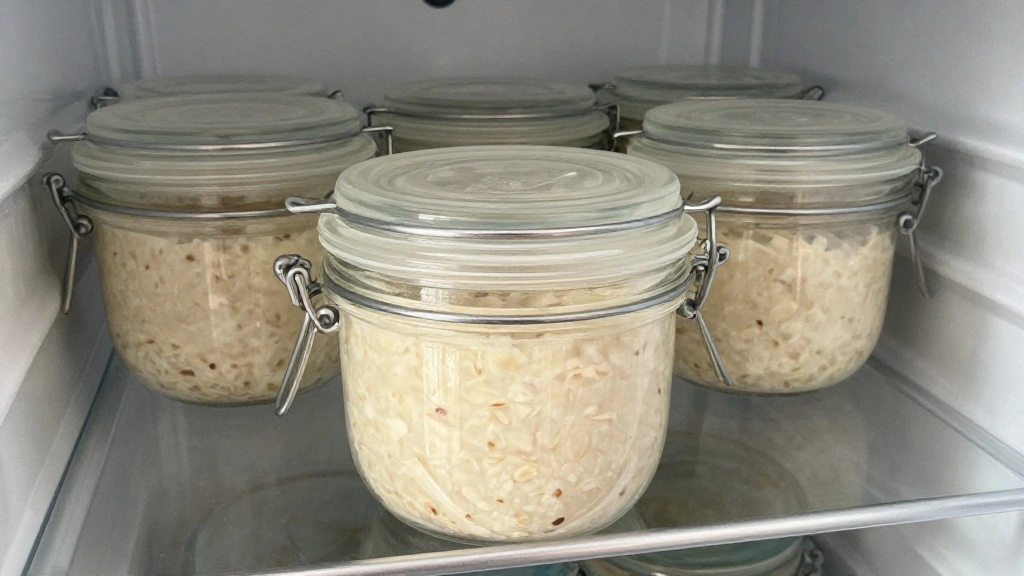
Secure the jar with a tight-fitting lid to prevent air exposure.
Place the jar in the refrigerator to soak overnight.
Ensure the jar is upright to avoid spills.
Leave for at least 8 hours for best results.
Step 6: Morning Check

In the morning, retrieve the jar from the refrigerator.
Check the consistency, ensuring oats are soft and creamy.
Stir gently to redistribute the toppings and flavors.
Adjust with additional milk if the mixture seems too thick.
Step 7: Add Final Touches

Optionally, add extra fresh berries or a drizzle of honey.
Consider adding a sprinkle of cinnamon for warmth.
Taste to ensure flavors are balanced and to your liking.
This step adds a personalized touch to your breakfast.


Step 8: Serve and Enjoy
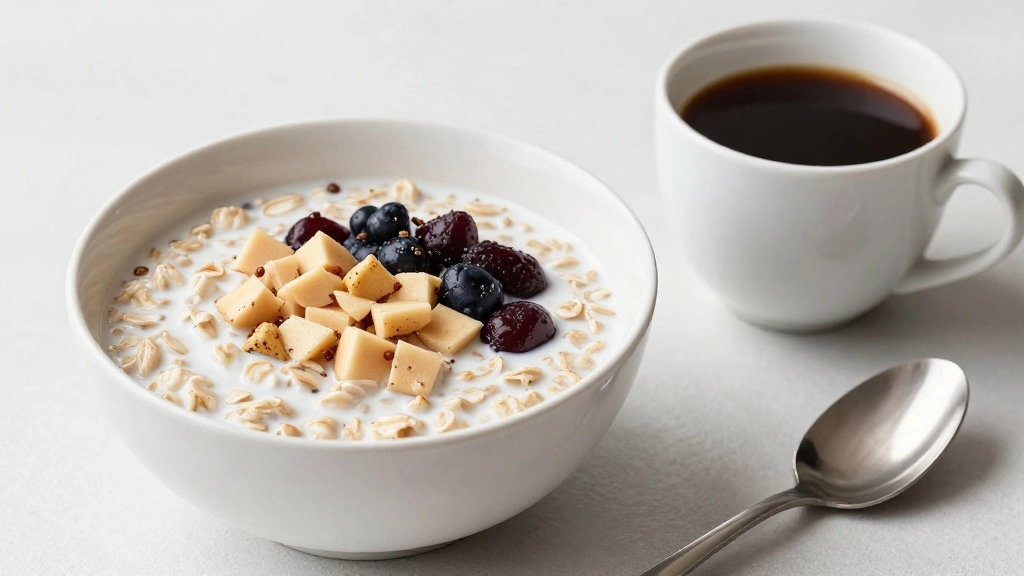
Transfer the oats to a serving bowl if desired.
Alternatively, enjoy directly from the jar for convenience.
Pair with a warm beverage for a complete breakfast.
Relish the balanced flavors and creamy texture of your creation.
Critical Timing and Temperature Guide
Soaking Time: Allow oats to soak for at least 8 hours in the refrigerator. Ensure the temperature is consistently cold to prevent spoilage. Avoid soaking for less time as it may result in a chewy texture.
Serving Temperature: Serve the oats cold or at room temperature. If you prefer a warm breakfast, gently heat without boiling. Overheating can cause the oats to become too mushy.
Storage Duration: Store in the refrigerator for up to 3 days. Look for any signs of spoilage, such as off-odors or separation, and discard if observed.
Pro Tips for Overnight Oats Recipe
• Ingredient Selection: Choose high-quality rolled oats for the best texture as they absorb liquid better than quick oats.
• Preparation Secret: Stir in a pinch of salt with the oats to enhance all the flavors subtly.
• Temperature Management: Keep the refrigerator at a consistent temperature to prevent the oats from spoiling.
• Texture Enhancement: For a creamier texture, substitute half of the milk with yogurt.
• Flavor Layering: Add a splash of lemon juice to the berries to brighten their flavor.
• Make-Ahead Strategies: Prepare multiple jars at once for meal prep, storing them for up to three days.
• Restaurant-Quality Finishing Touches: Garnish with a sprig of mint or edible flowers for an elegant touch.
• Equipment Optimization: Use wide-mouth jars for easier access and mixing.
Troubleshooting Common Issues
• Texture Too Dense: This may be due to insufficient soaking. Ensure oats soak for the full recommended time. Adding extra milk can also help loosen the mixture.
• Flavors Unbalanced: If too sweet, add a splash of lemon juice to balance. If not sweet enough, drizzle more honey before serving.
• Oats Too Chewy: This is often due to using the wrong type of oats. Ensure you're using rolled oats rather than steel-cut or instant oats.
• Separation of Layers: Stir the mixture thoroughly before refrigerating to ensure even distribution of flavors.
• Spoilage Concerns: Always check for off-smells or mold before consuming, especially if stored for more than 3 days.
• Lack of Creaminess: Add a tablespoon of chia seeds before refrigerating as they absorb liquid and create a richer consistency.
Variations and Regional Differences
• Swiss Muesli: This version often includes grated apple and lemon juice, providing a tangy contrast to the creamy oats.
• American Style: Typically sweeter, with added cinnamon and brown sugar, reflecting the preference for sweeter breakfasts.
• Asian Influence: Incorporates ingredients like matcha or red bean paste, offering a unique twist with cultural flavors.
• Mediterranean Twist: Features yogurt and dried fruits such as figs or dates, adding a chewy texture and natural sweetness.
Food Science Behind the Recipe
• Starch Gelatinization: The soaking process allows the starches in oats to absorb liquid and swell, resulting in a soft, palatable texture without cooking.
• Flavor Compounds: Overnight soaking enables flavors to meld and infuse, creating a more harmonious taste profile as volatile compounds are absorbed by the oats.
• Enzymatic Browning: Apples or bananas can be added just before serving to prevent browning, as exposure to air during storage can cause discoloration.
Frequently Asked Questions
What's the most common mistake people make when preparing overnight oats? Overlooking the importance of the soaking time, resulting in oats that are too dense or chewy.
Can I use steel-cut oats instead of rolled oats? Yes, but they require a longer soaking time and result in a chewier texture.
How can I make my overnight oats thicker? Add chia seeds or reduce the liquid ratio for a thicker consistency.
Are overnight oats safe to eat every day? Absolutely, they are nutritious and can be varied to suit your dietary needs.
How do I make overnight oats vegan? Use plant-based milk and sweeteners like maple syrup.
Can overnight oats be warmed up? Yes, gently heat them on the stove or microwave, but avoid boiling.
How long can overnight oats be stored? Typically up to 3 days in the refrigerator for optimal freshness.
Serving and Presentation Guide
• Traditional Presentation: Serve in the jar with a small spoon, topped with fresh fruits and a sprig of mint.
• Layered Parfait Style: Layer with yogurt and fruits in a glass for a visually appealing breakfast.
• Family Style: Serve in a large bowl with various toppings on the side for a customizable breakfast.
• On-the-Go Option: Keep in a portable jar with a secure lid for a convenient, travel-friendly meal.


Conclusion
Overnight oats offer a nutritious and customizable breakfast option, perfect for those hectic mornings.
With endless variations and a simple preparation process, they cater to diverse tastes and dietary needs.
I encourage you to try this recipe and explore your own favorite combinations for a delightful start to your day.